Product Guide
Deploy Station
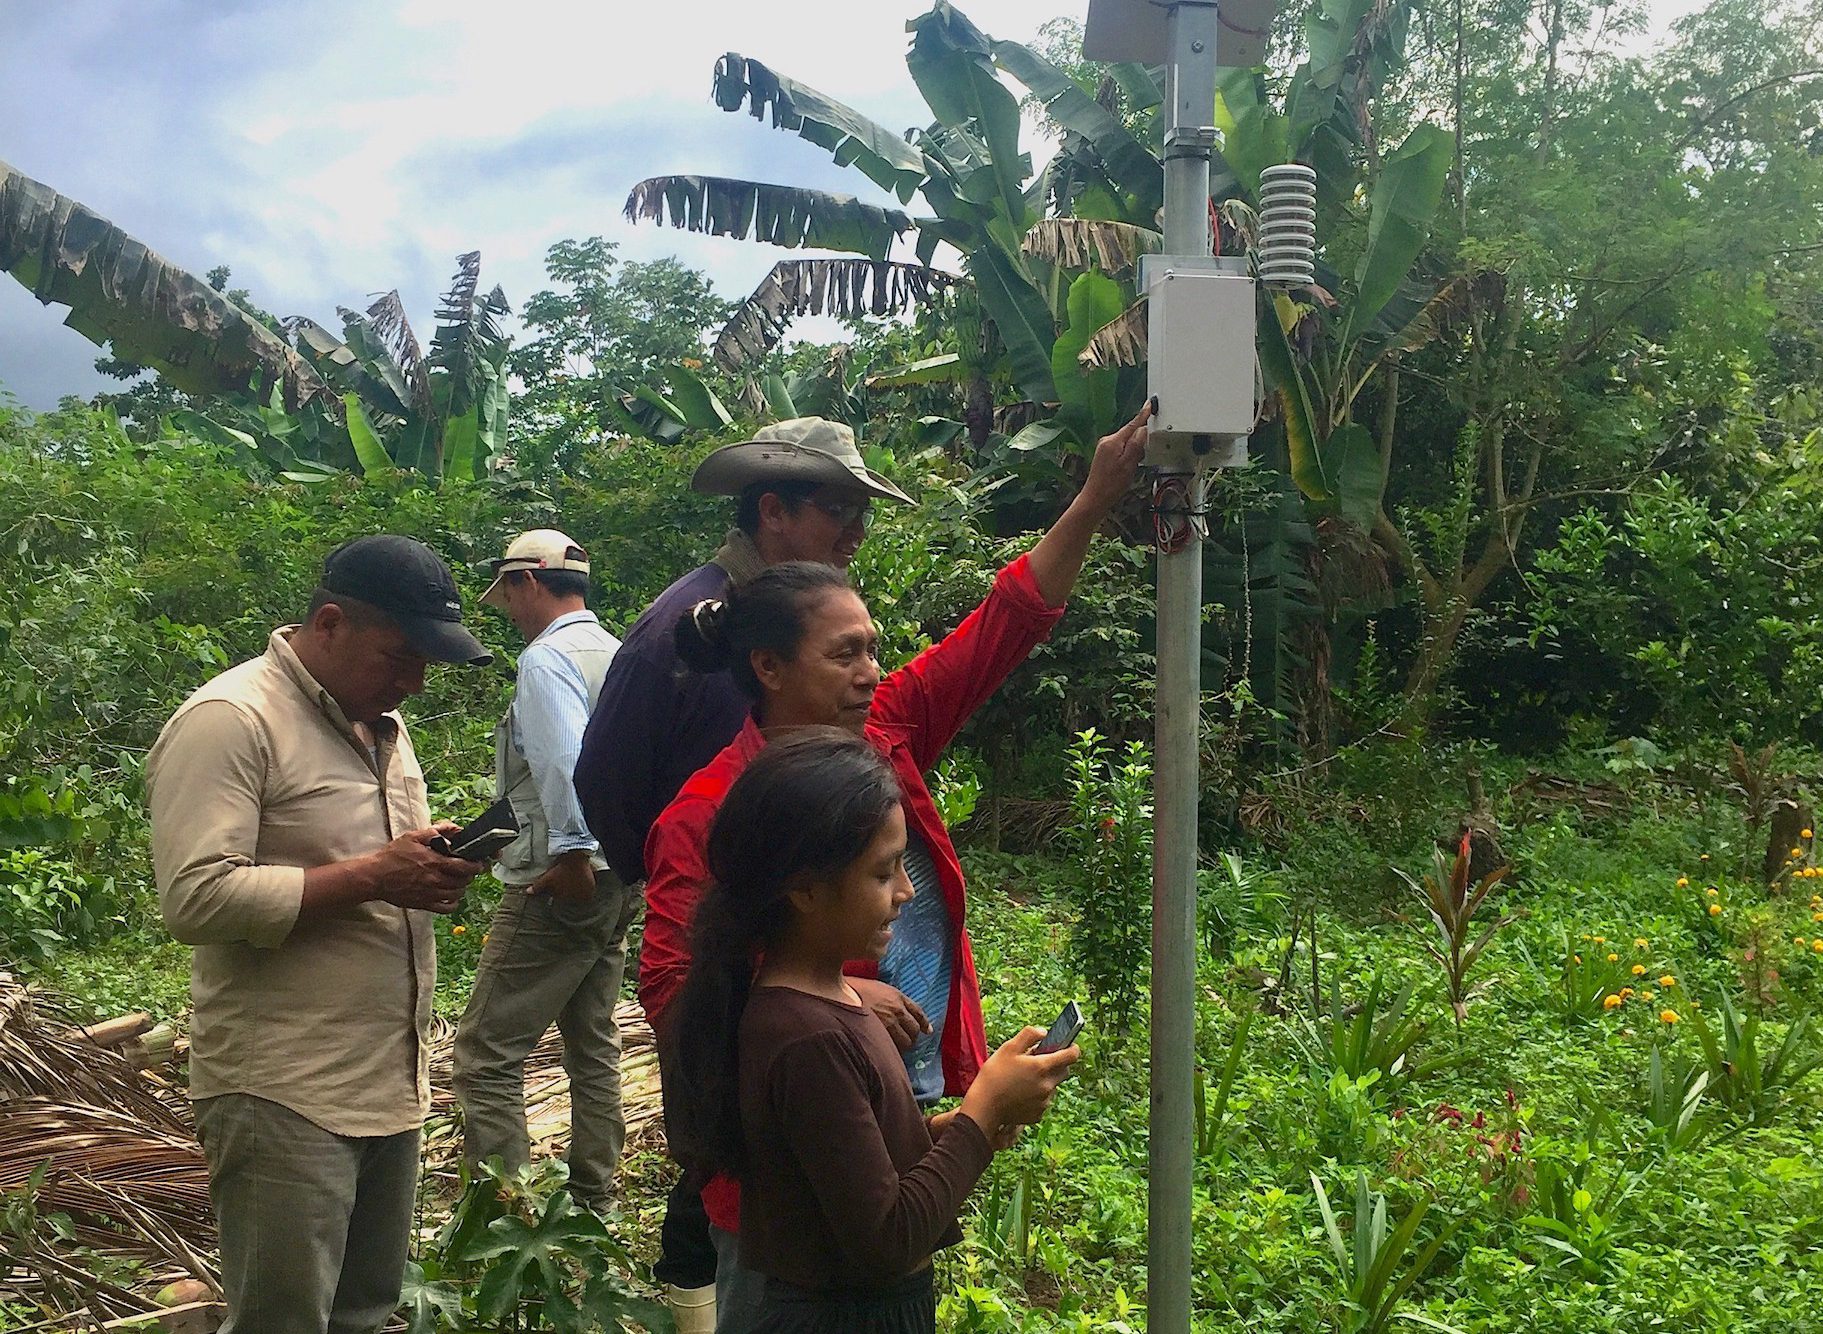
It’s time to put your FieldKit to work and start recording environmental data out in the world.
Take your station to your deployment location, choose a data capture frequency, and document the process. The more information you gather in photographs and field notes during deployment, the more context you and your team will have to work with when analyzing the data later.
We believe that documentation is important. So while early versions of FieldKit will automatically start recording data, we’re working on new functionality to encourage users to realize the benefits of deploying in order to start recording data. That’s how this Product Guide is written.
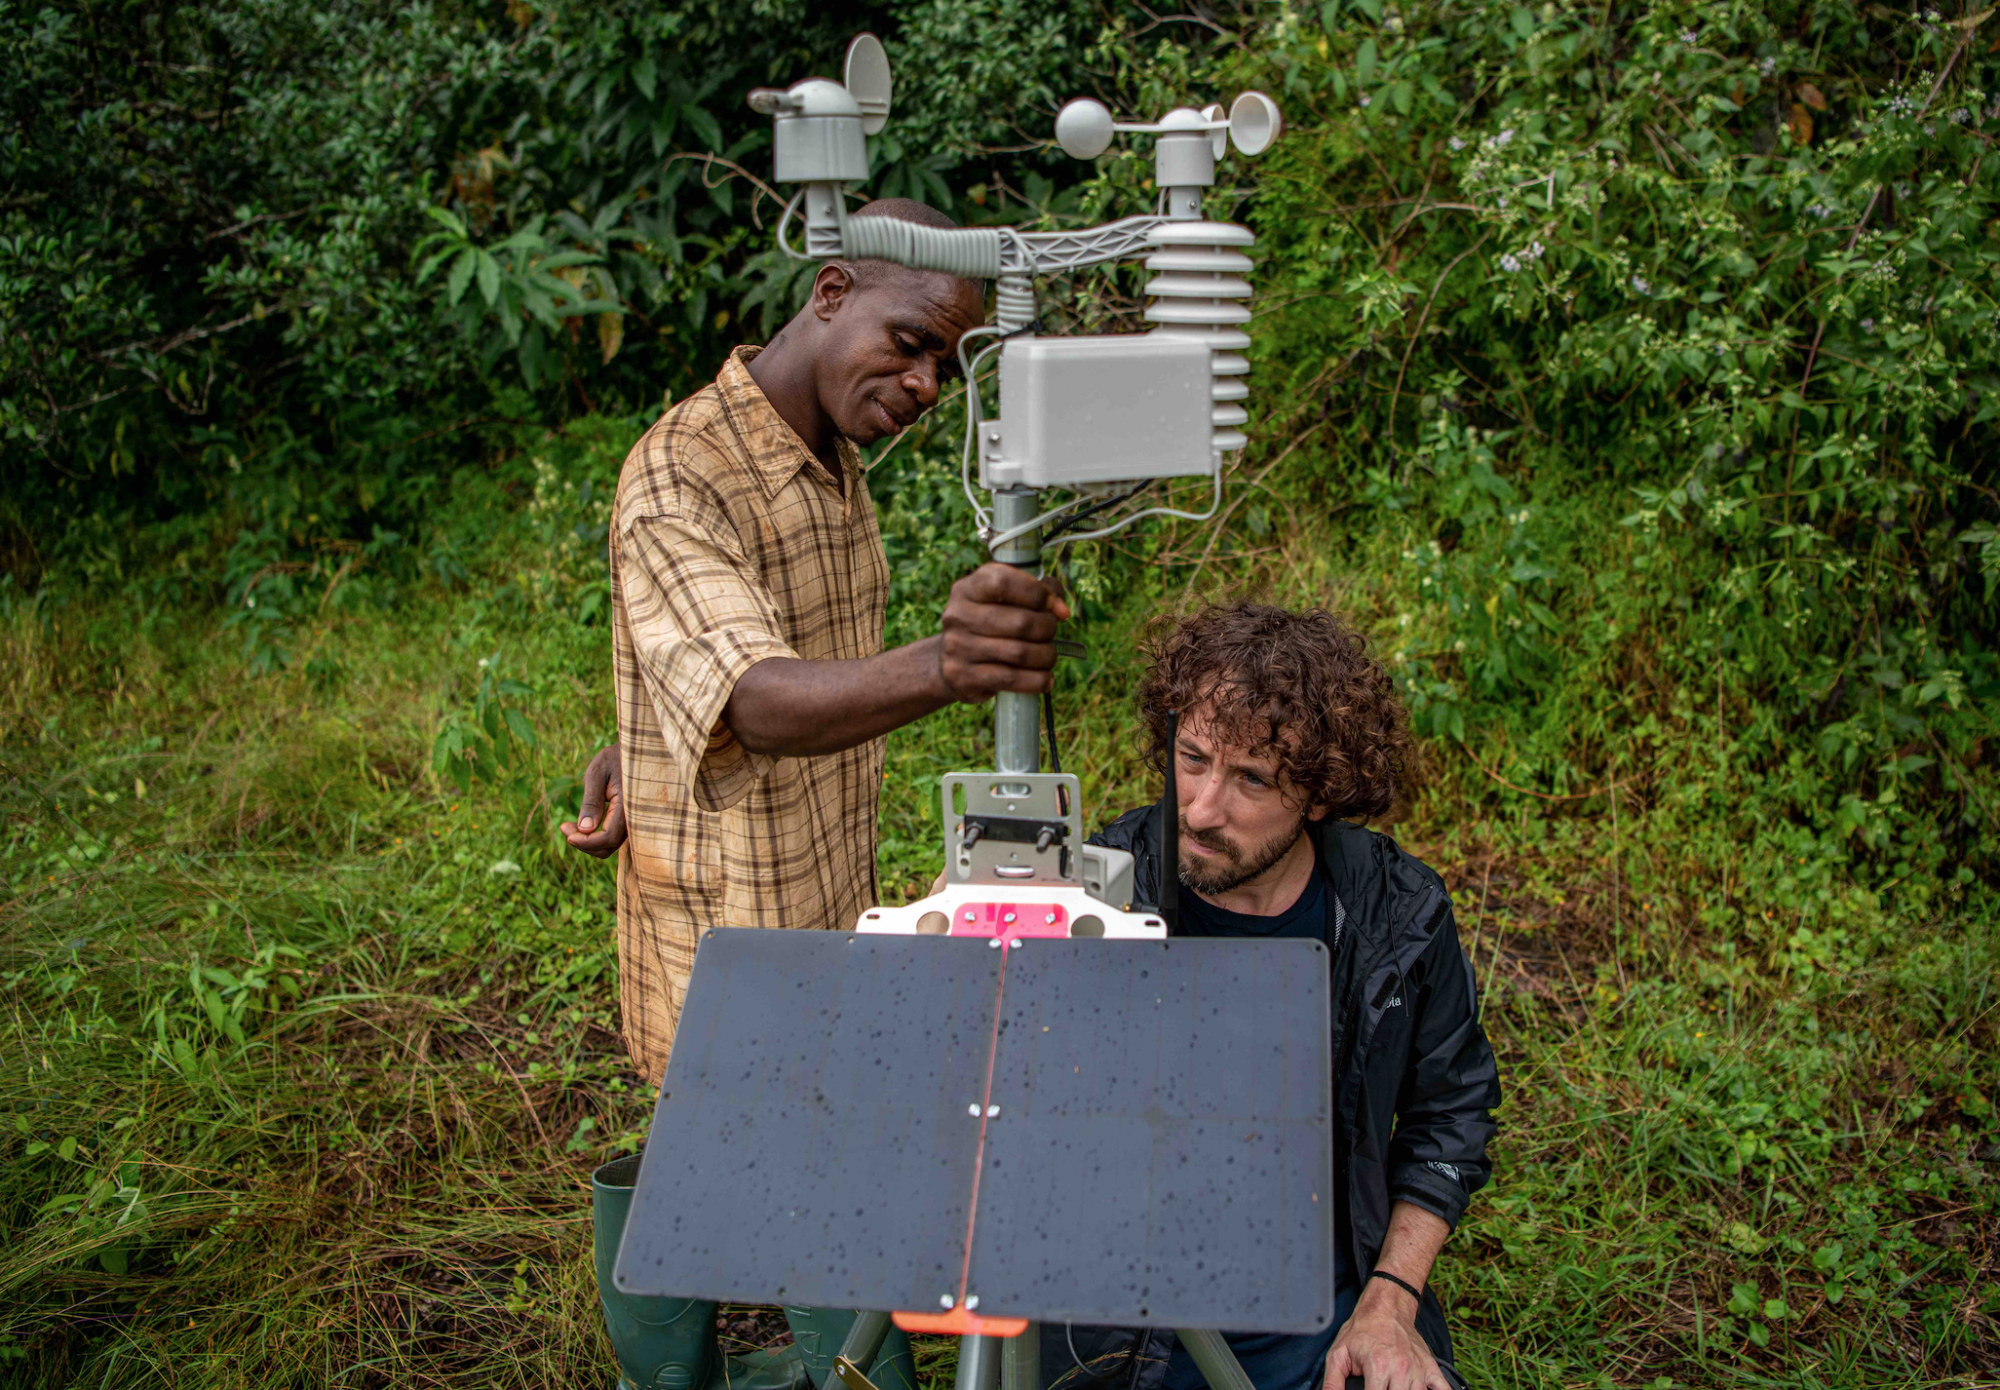
1. Mount Station Securely
Mount the case to a post or a tree with non-invasive mounting solutions, so that your station is protected from the elements and any curious animals!
We have blog posts outlining how to think through station installation in more detail:
-FieldKit Weather Station Deployment for Beginners
-FieldKit Goes to Brooklyn: Tips, Tricks, and Lessons Learned for FieldKit Deployment
-FieldKit Goes to Brooklyn: FieldKit Water Deployment (Coming soon)
-FieldKit Goes to Brooklyn: FieldKit Distance Deployment (Coming soon)
2. Deploy Station
Once your station is secured, make sure that external instruments like probes or the weather cluster are properly set up. For more information, see our general Care Instructions and the sensor-specific deployment guidance below.
Ensure your power sources are in place (battery, micro-USB or solar). See the Set Up Solar section for guidance on setting up your solar panel if you are using one.
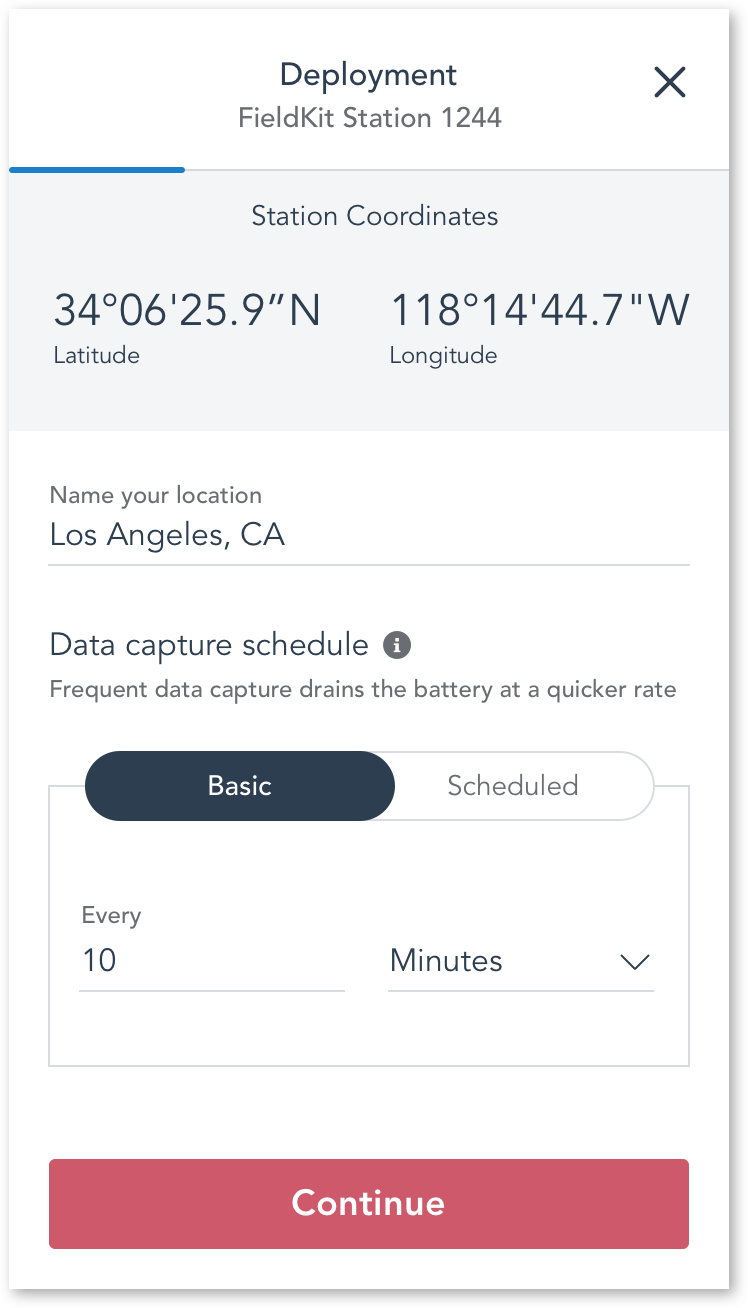
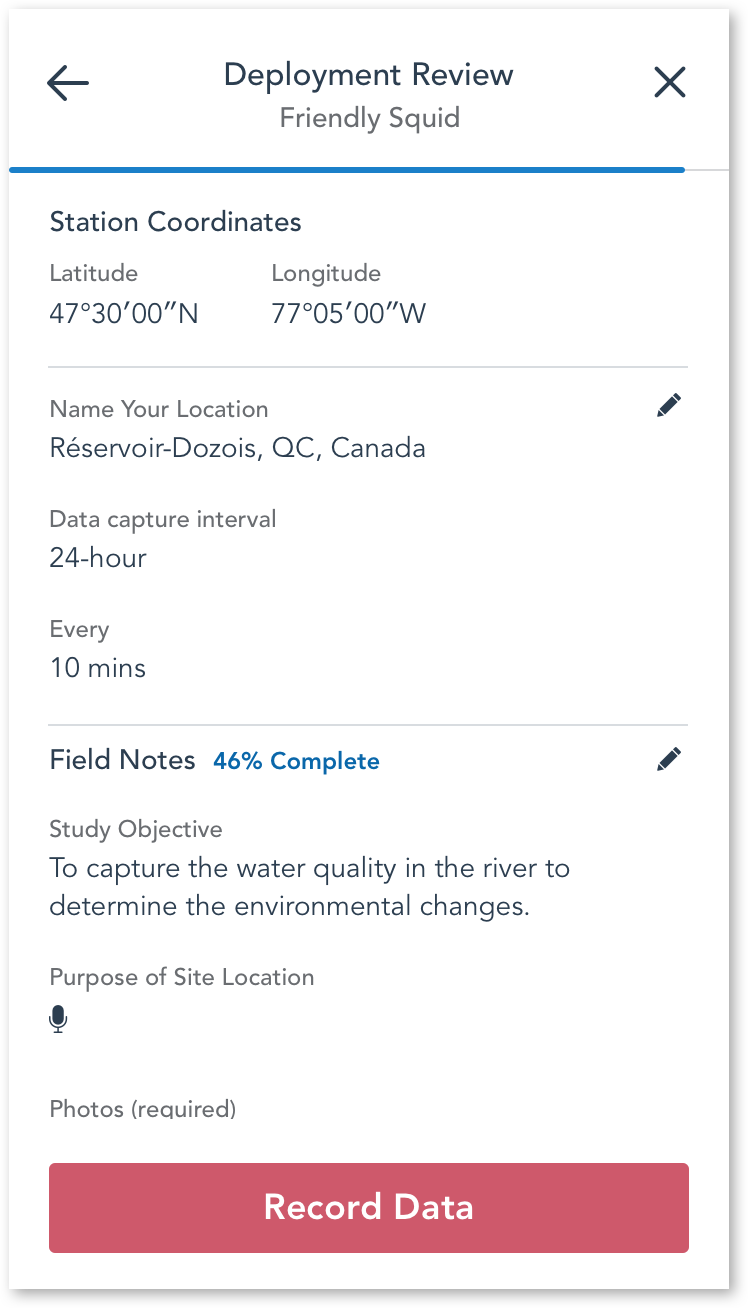
3. Name Deployment Location
In the app, name your location for future reference. Depending on your connectivity, we will also detect your GPS coordinates or locate your position on a map.
The default data capture schedule when a station is not connected to the app is 1 hour. When a station is connected to the app, the data capture schedule is every 10 seconds, except for conductivity which is 1 minute (which cannot be more frequent to maintain accuracy). When a station is connected to the app, the data capture schedule will be as described, regardless of what it might have been changed to.
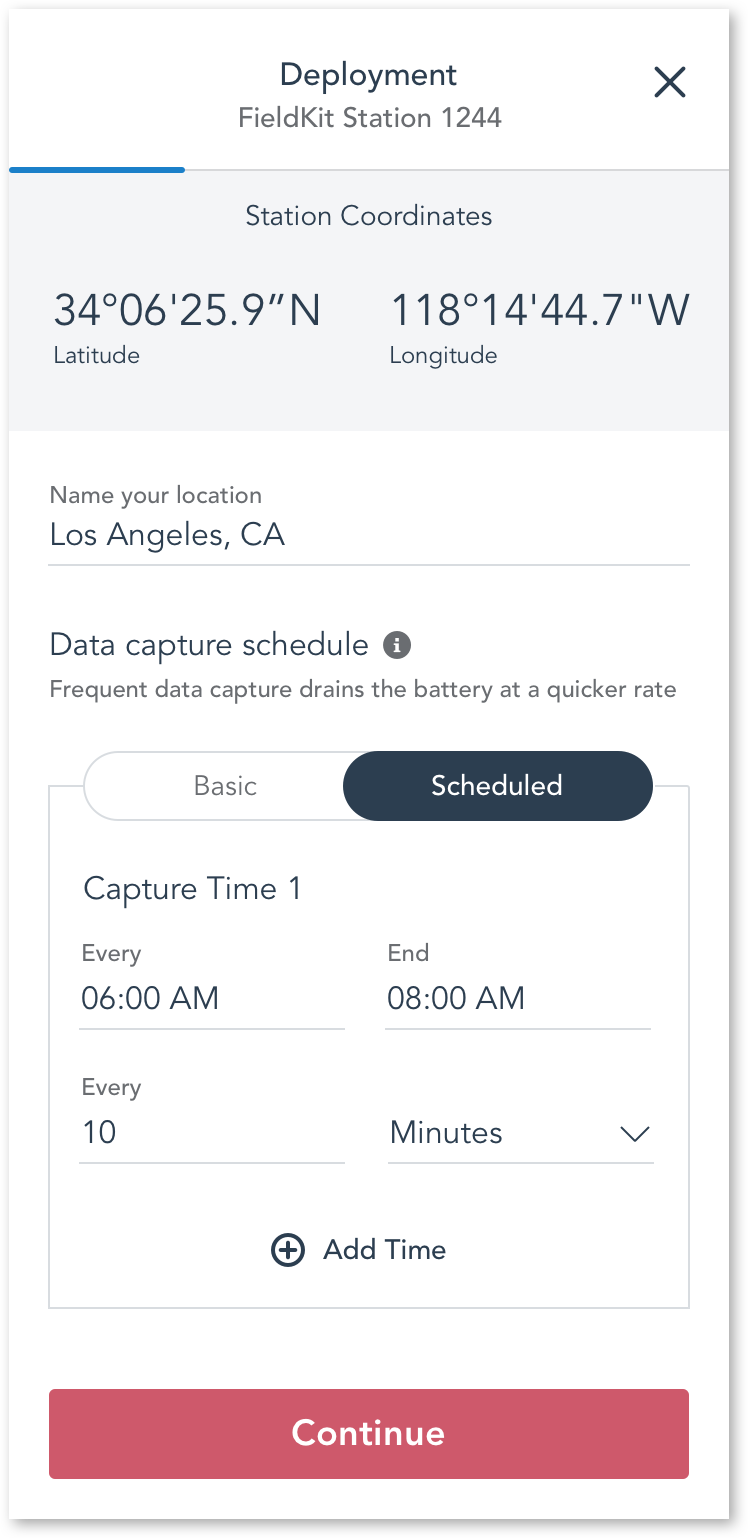
4. Set Data Capture Schedule
Check the FieldKit app to ensure each sensor is still reading live data. These data readings are not being recorded at this stage. Your FieldKit station won’t be recording data until you complete the deployment process and hit “Record Data.”
Set your preferred data capture schedule. Indicate when and at what interval data readings should be recorded. Note that more frequent intervals of data capture drain the battery faster.
Choose which type of data capture schedule to set:
Simple Data Capture Schedule
Set your station to take data readings at a set interval of minutes or hours. This is useful for projects that need a consistent amount of data over a 24-hour period.
Example: Every 5 minutes
Example: Every 1 hour
Complex Data Capture Schedule
Set your station to take data readings at one or multiple specific times of the day, each at a set interval of minutes or hours. This may be useful for projects where most data is best gathered around certain events like sunrise or sunset, thus you’ll save battery by not recording (at all or at the same rate) around the clock.
Example:
Capture Time 1: Starts at 04:00 and ends at 07:00 and records every 1 minute
Capture Time 2: Starts at 07:00 and ends at 17:00 and records every 1 hour
Capture Time 3: Starts at 17:00 and ends at 19:00 and records every 1 minute
Capture Time 4: Starts at 19:00 and ends at 04:00 and records every 1 hour
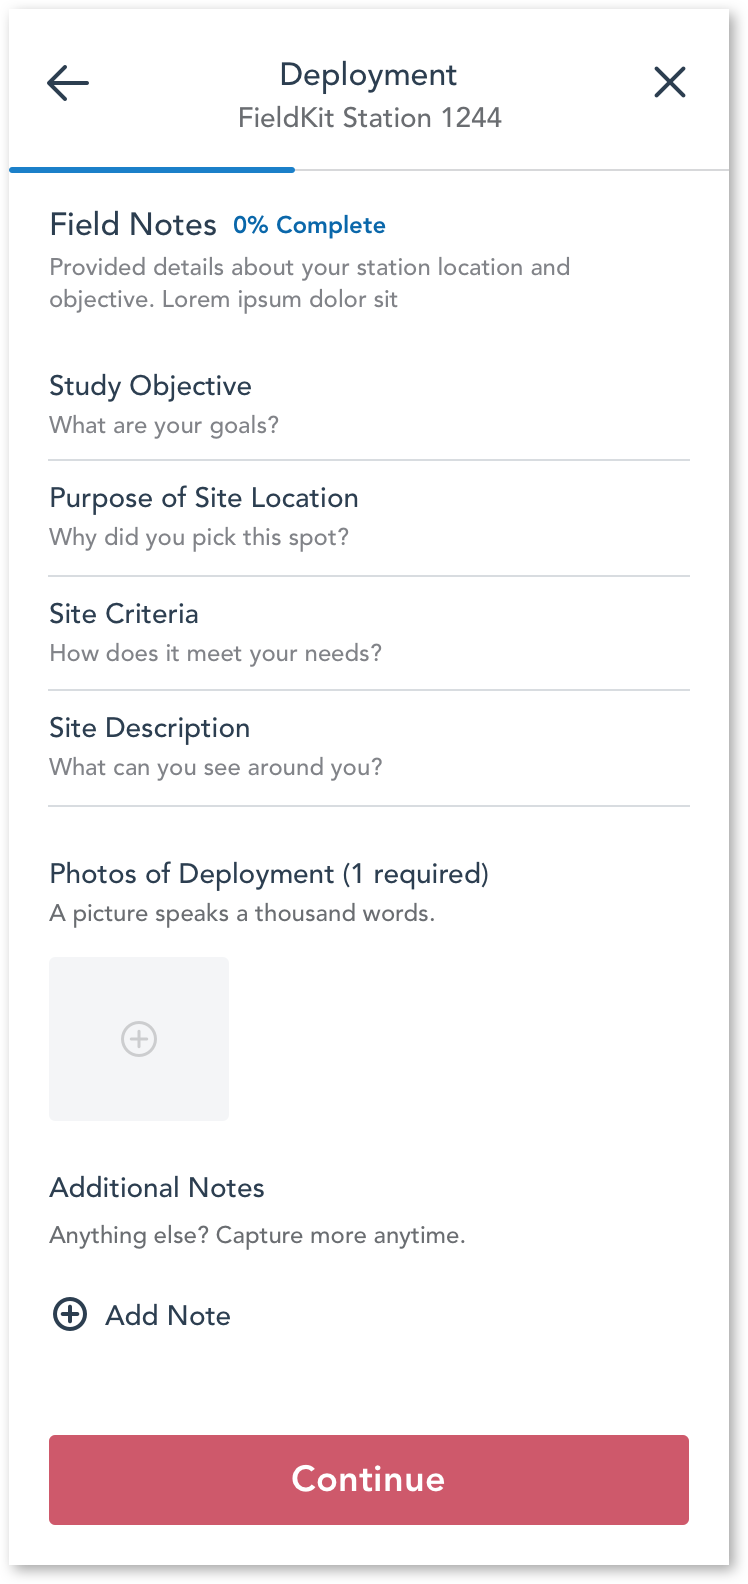
5. Document Deployment Conditions with Field Notes
By providing some context to your deployment, not only are you helping the wider community better understand their environment—you’re also helping your future self and your teammates gain clearer insights from the data.
Plus, if your station encounters issues, a little admin work now could save you lots of time and headache in the future, especially if your FieldKit station is deployed in a remote location.
Start with some notes. If your hands are full, you can take an audio recording of yourself through the app to capture your thoughts in the moment. You can do this by clicking into a section of the Field Notes and then clicking the microphone icon at the lower right hand side of the screen. Otherwise, type detailed notes that can inform data analysis and future visits to the station.
Then snap some pictures of your deployed FieldKit station and the surrounding area. Is it set up near any landmarks? Are there any hazards around?
6. Hit “Record Data” to Begin Data Capture
Double-check the ‘Deployment Review’ page. Is your information correct? Review everything as if you are a future version of yourself or someone new to the study. Would you be able to understand everything? Great! You’re ready to start recording data. Hit “Record Data.”
7. Congratulations! Now Capture Some Initial Data
You are now deployed and recording data. We recommend hanging around to gather a few readings to sync that initial data capture to the FieldKit app. This will verify that your FieldKit is recording data properly.
If your readings look a little off at first, don’t worry! FieldKit probes, like all probes, take a few minutes to stabilize and the readings will adjust shortly.
8. Final Punch List Before Walking Away
Make sure that the gaskets in your FieldKit Case (lid and cable plate) are sitting snugly in the grooves, nice and flat, not stretched or twisted, and the lid is properly closed using the lid clasps for maximum water resistance.
Clear up after yourself, leave the location as you found it, and leave with the peace of mind that your station is secured and working.
Take a moment to revisit our Care Instructions, the sensor-specific deployment guidance below and your Pre-Deployment Checklist to ensure you’ve set yourself up for success before you walk away. Do not skip this step.
Weather Deployments
Here are some things to think about when deploying Weather sensors.
Make Sure Nothing Has Shifted in Transit
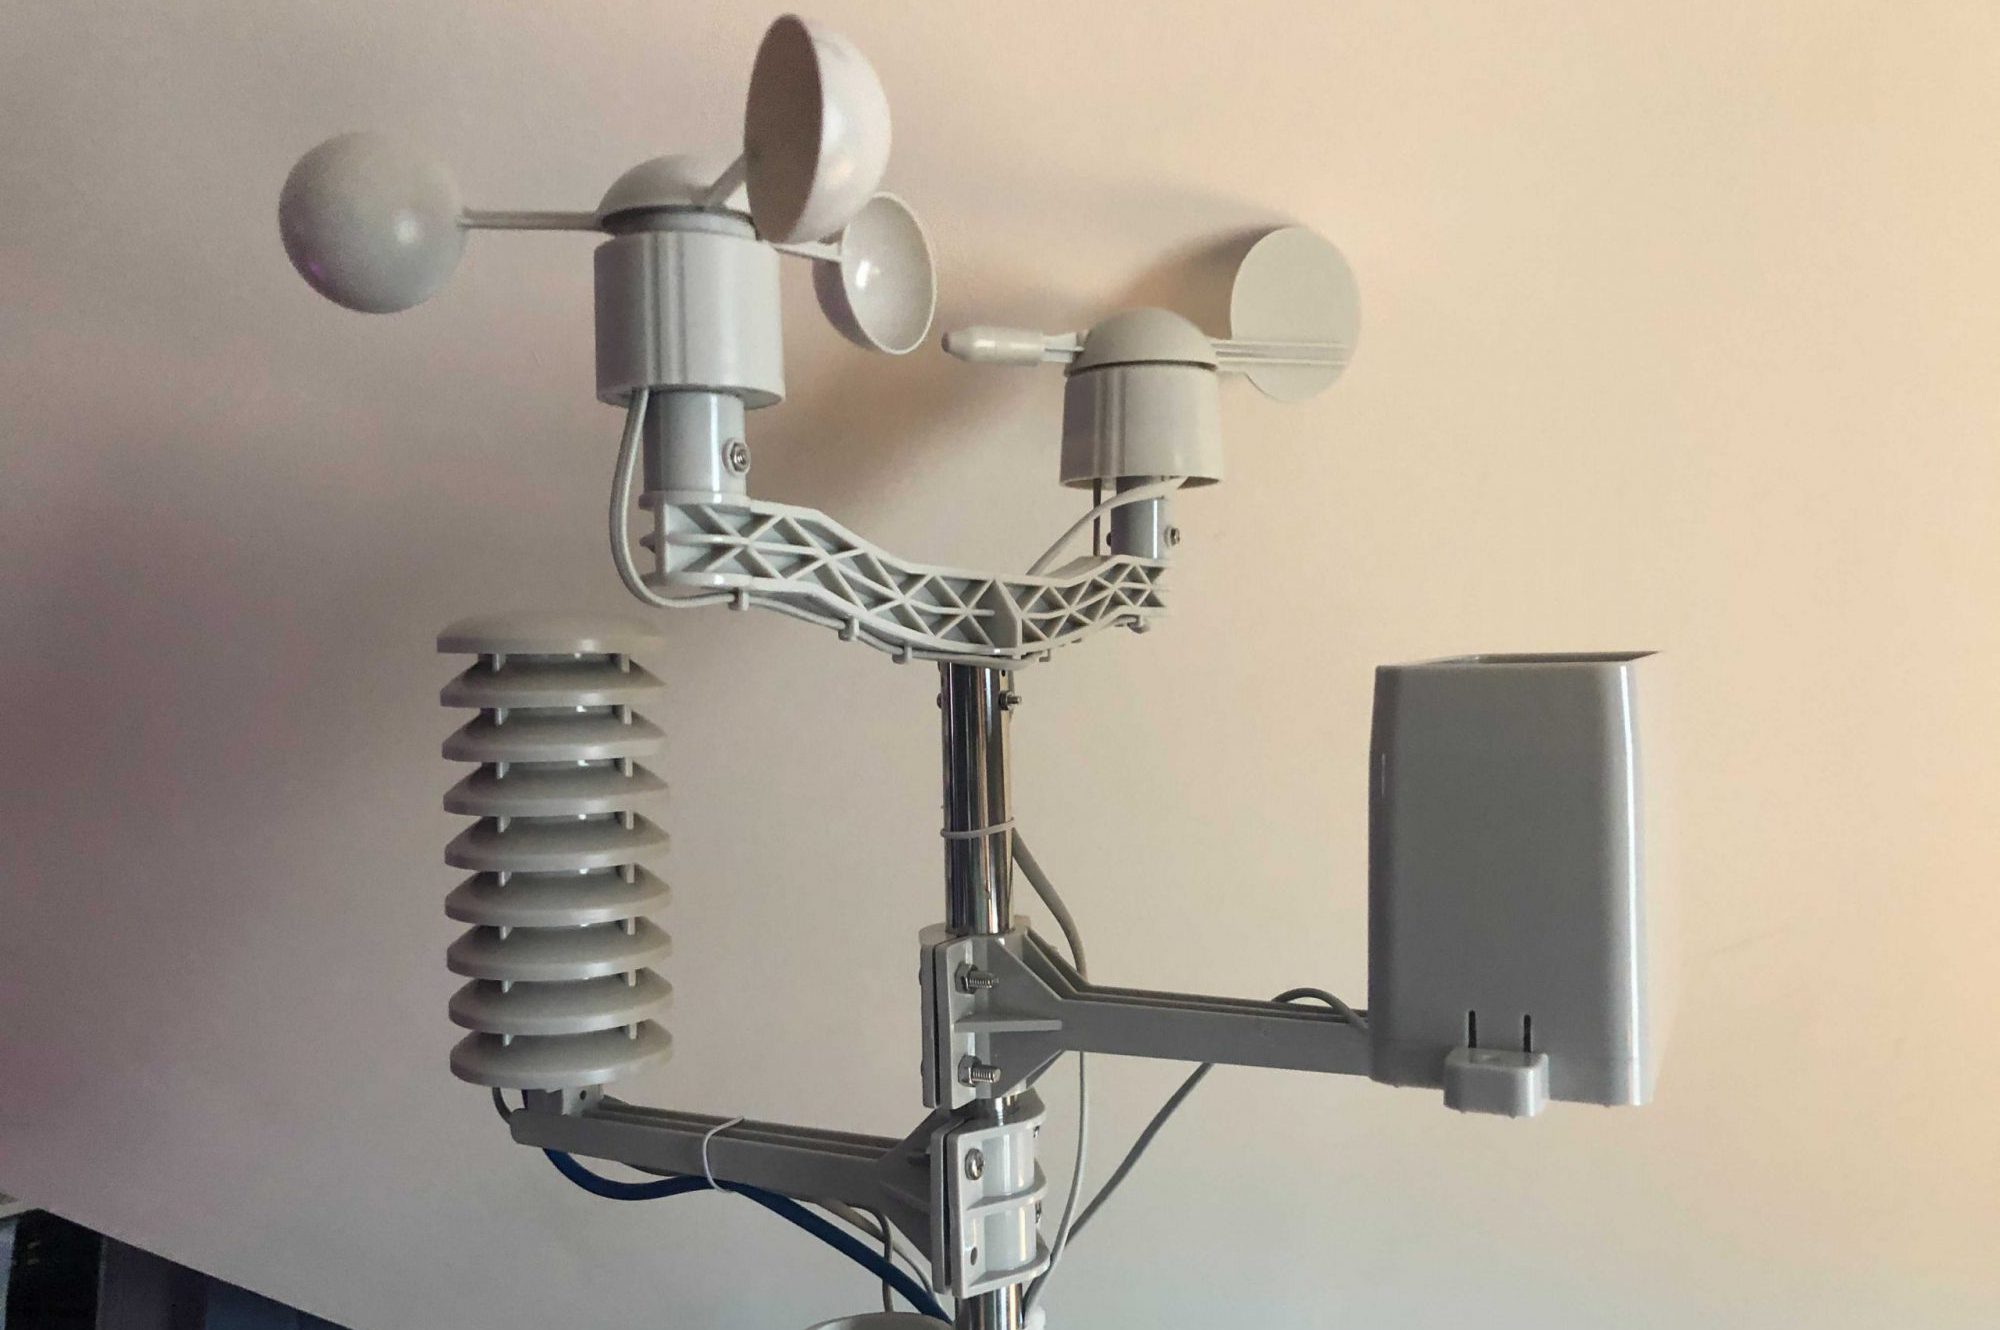
Make sure your Rain Gauge is clear of the Anemometer and Wind Vane and did not shift during assembly.
Mount 5M Above Ground
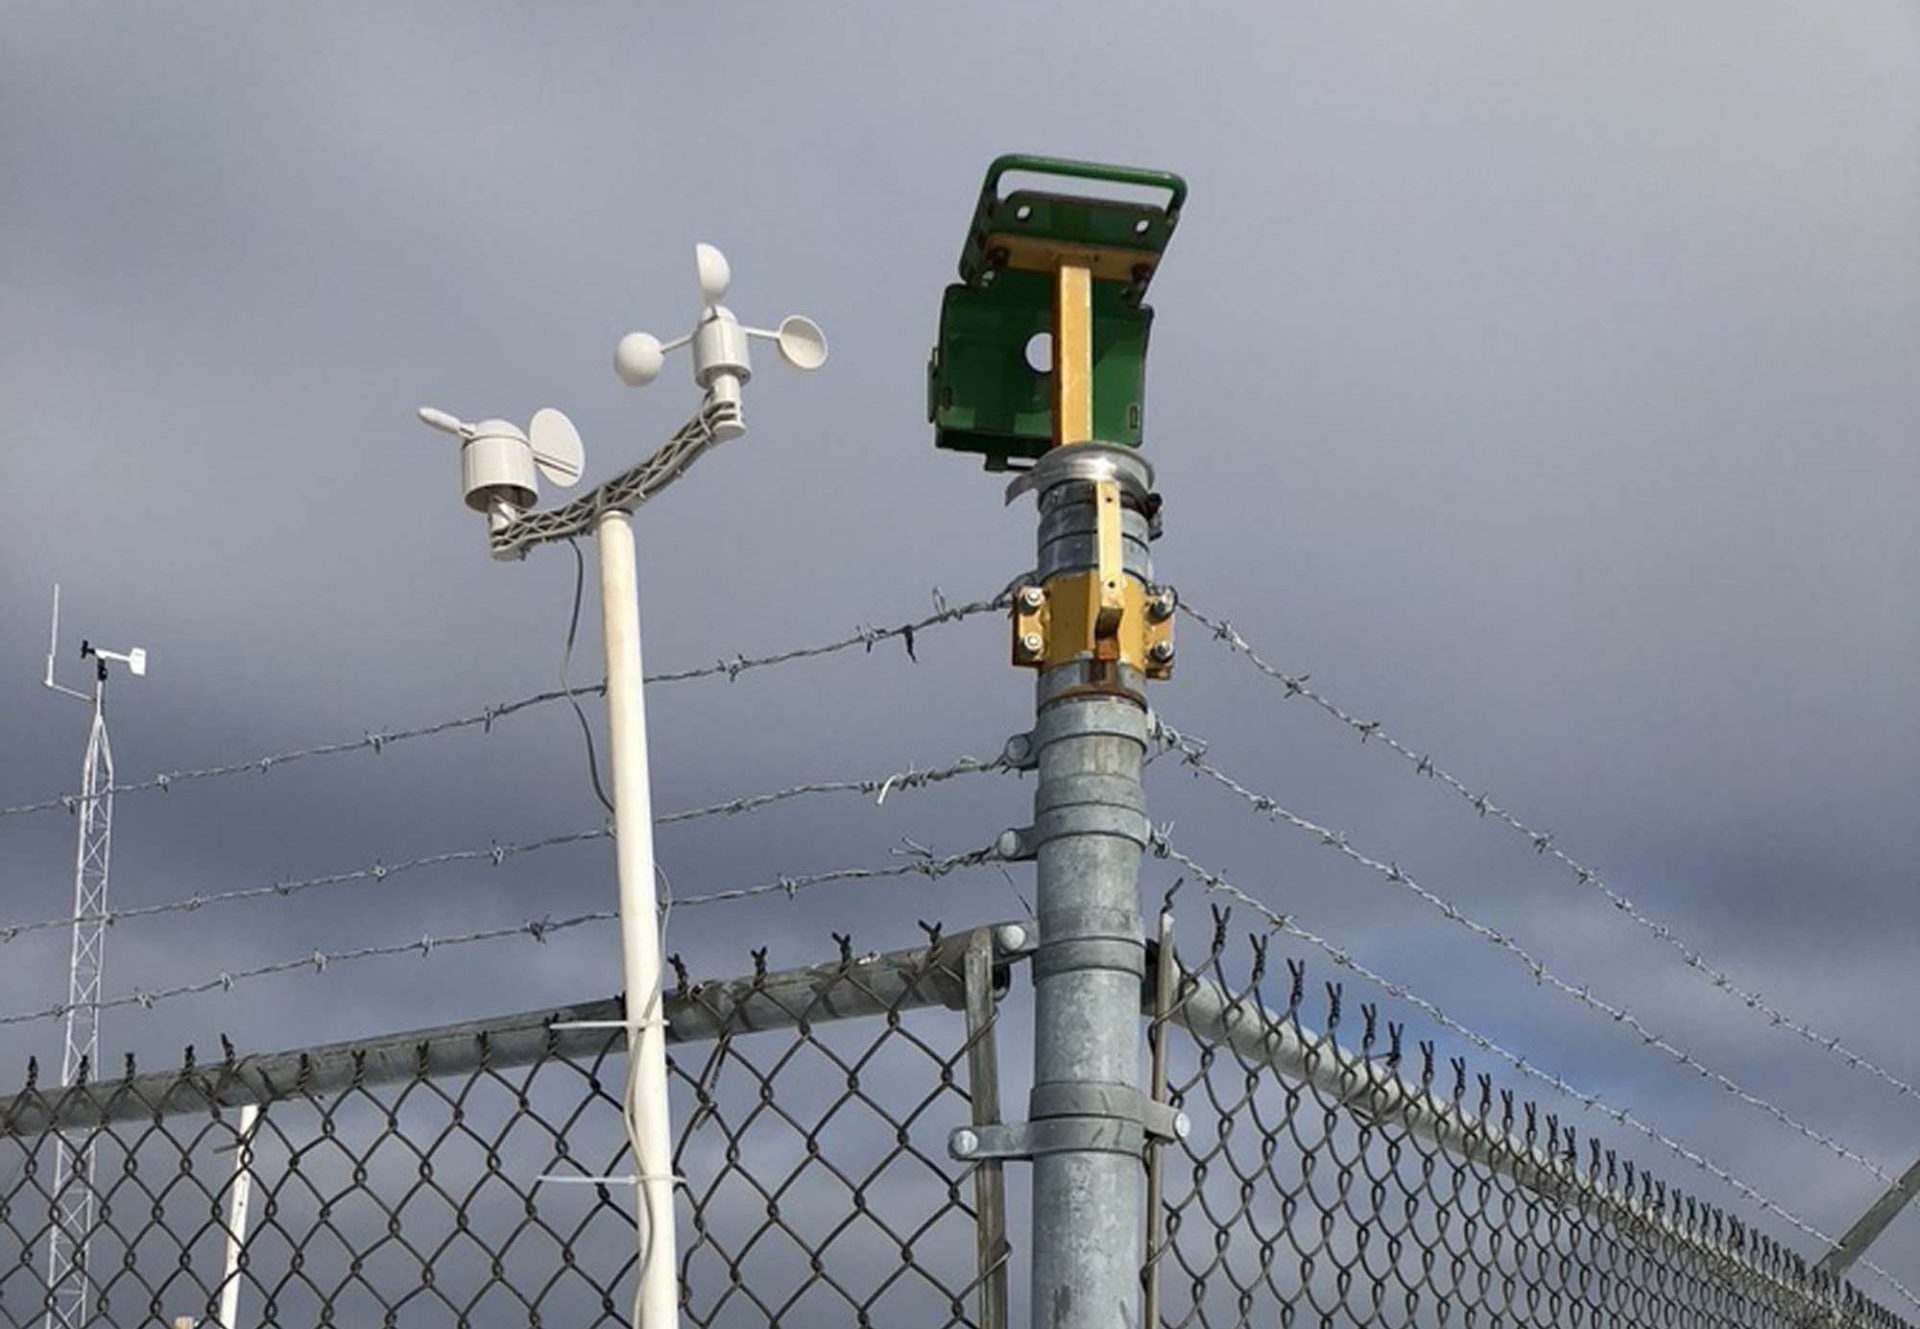
Ensure the Weather Instrument Cluster is set up in an area with unobstructed air flow and is attached to a mast more than 5 meters above the ground. This is to avoid boundary effects and record accurate measurements.
Is Everything Standing Straight?
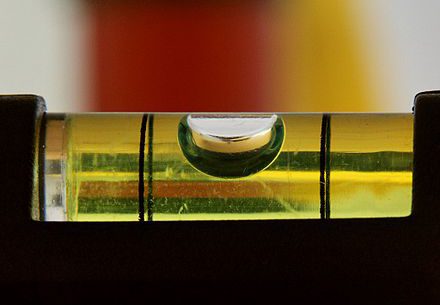
Ensure the whole thing is plumb (standing up straight). To do this, tie a string with a weight on it to the top of the Wind Vane arm, then adjust the mast until it is parallel with the string. You can also simply place a bubble level on top of the Rain Gauge.
Line Up with Due North
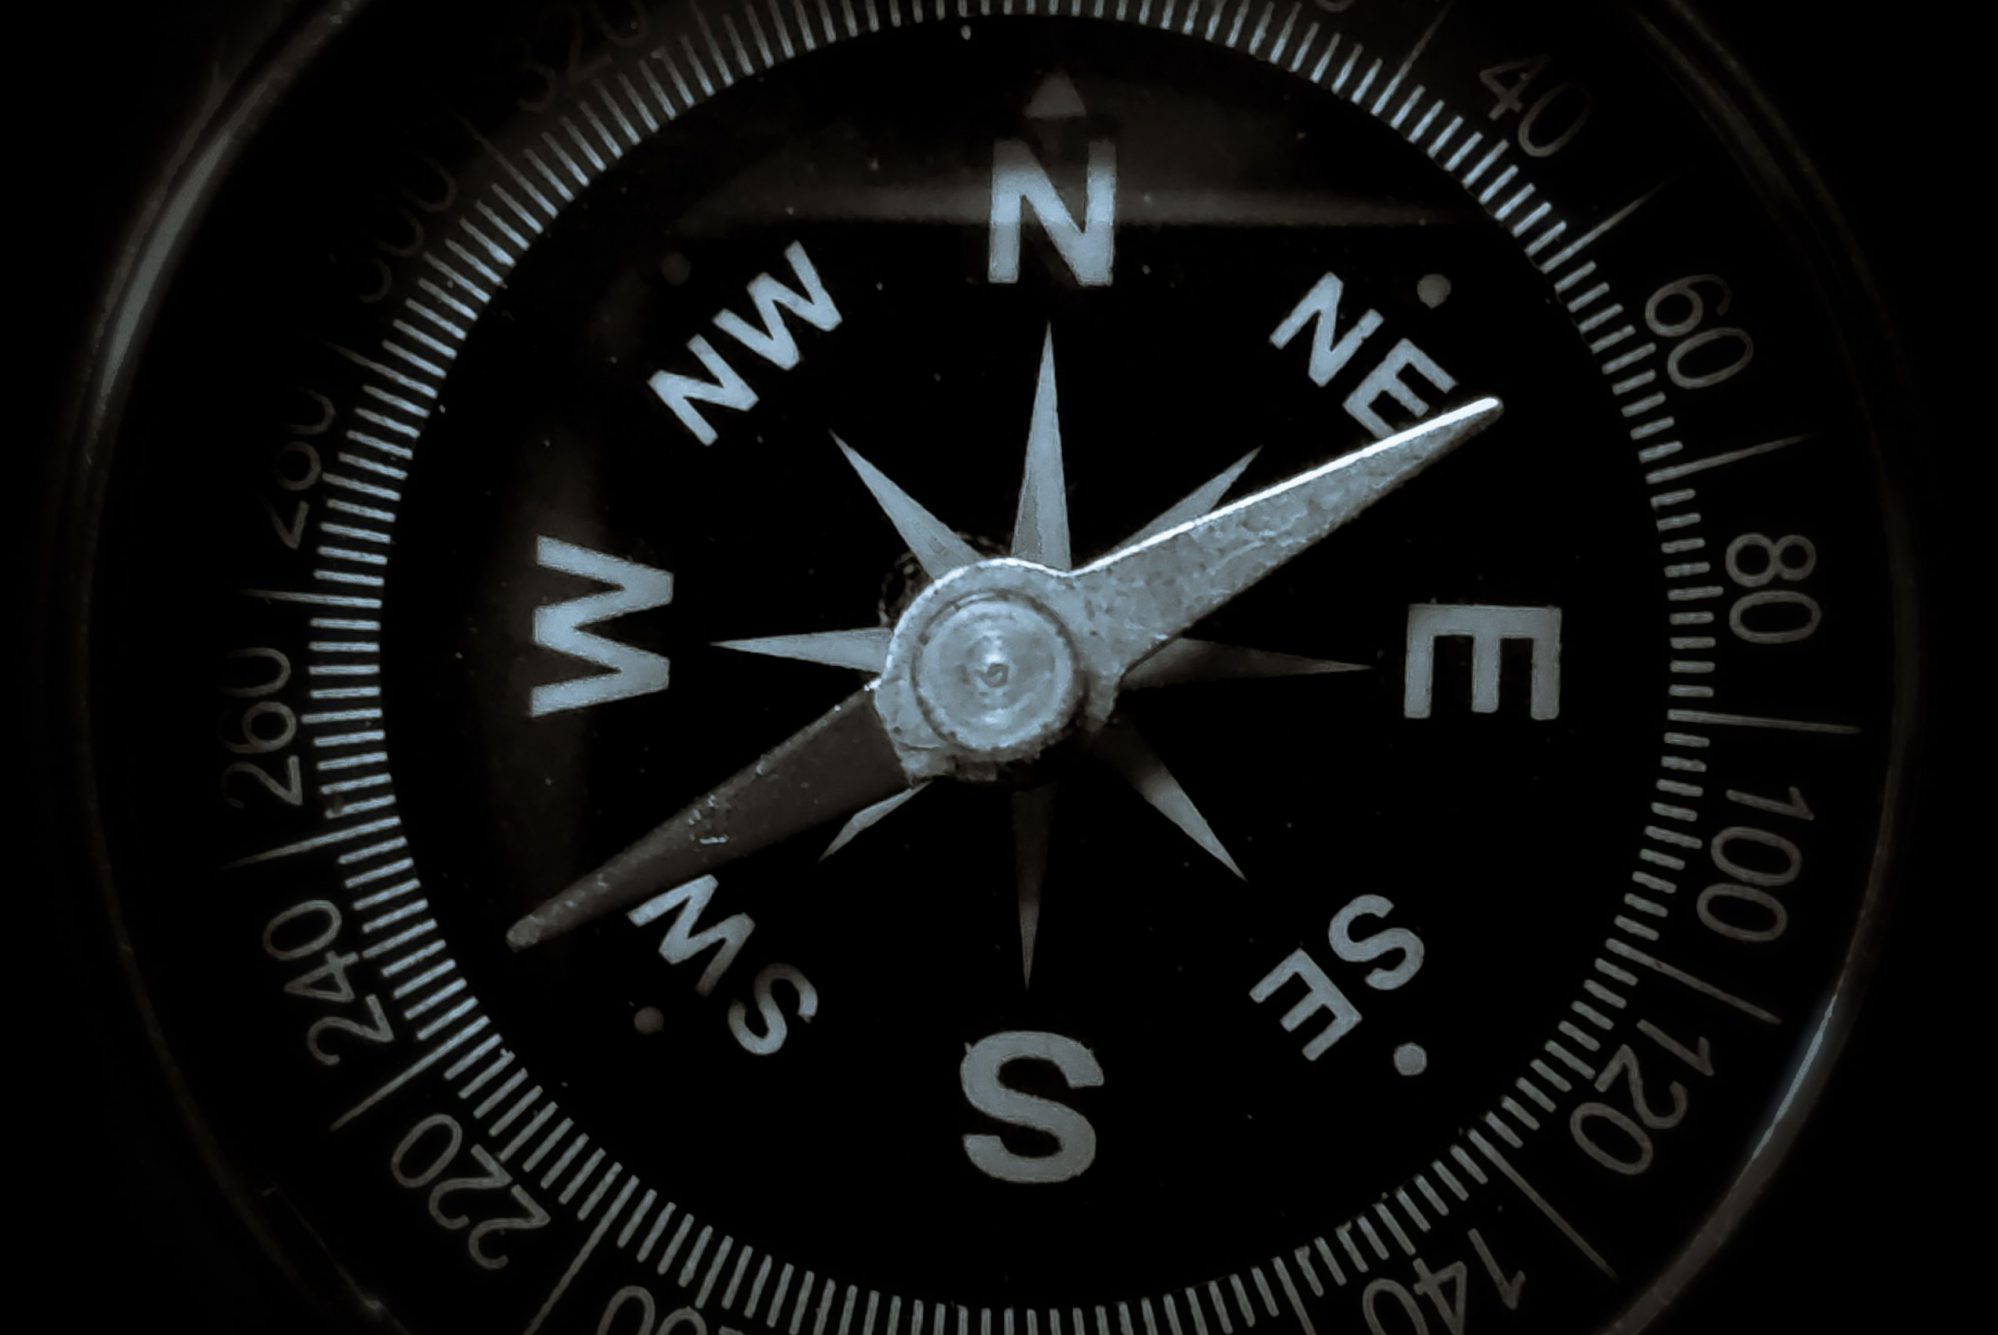
Locate the cardinal directions on the Wind Vane—you’ll place it in the field with the “N” mark facing north.
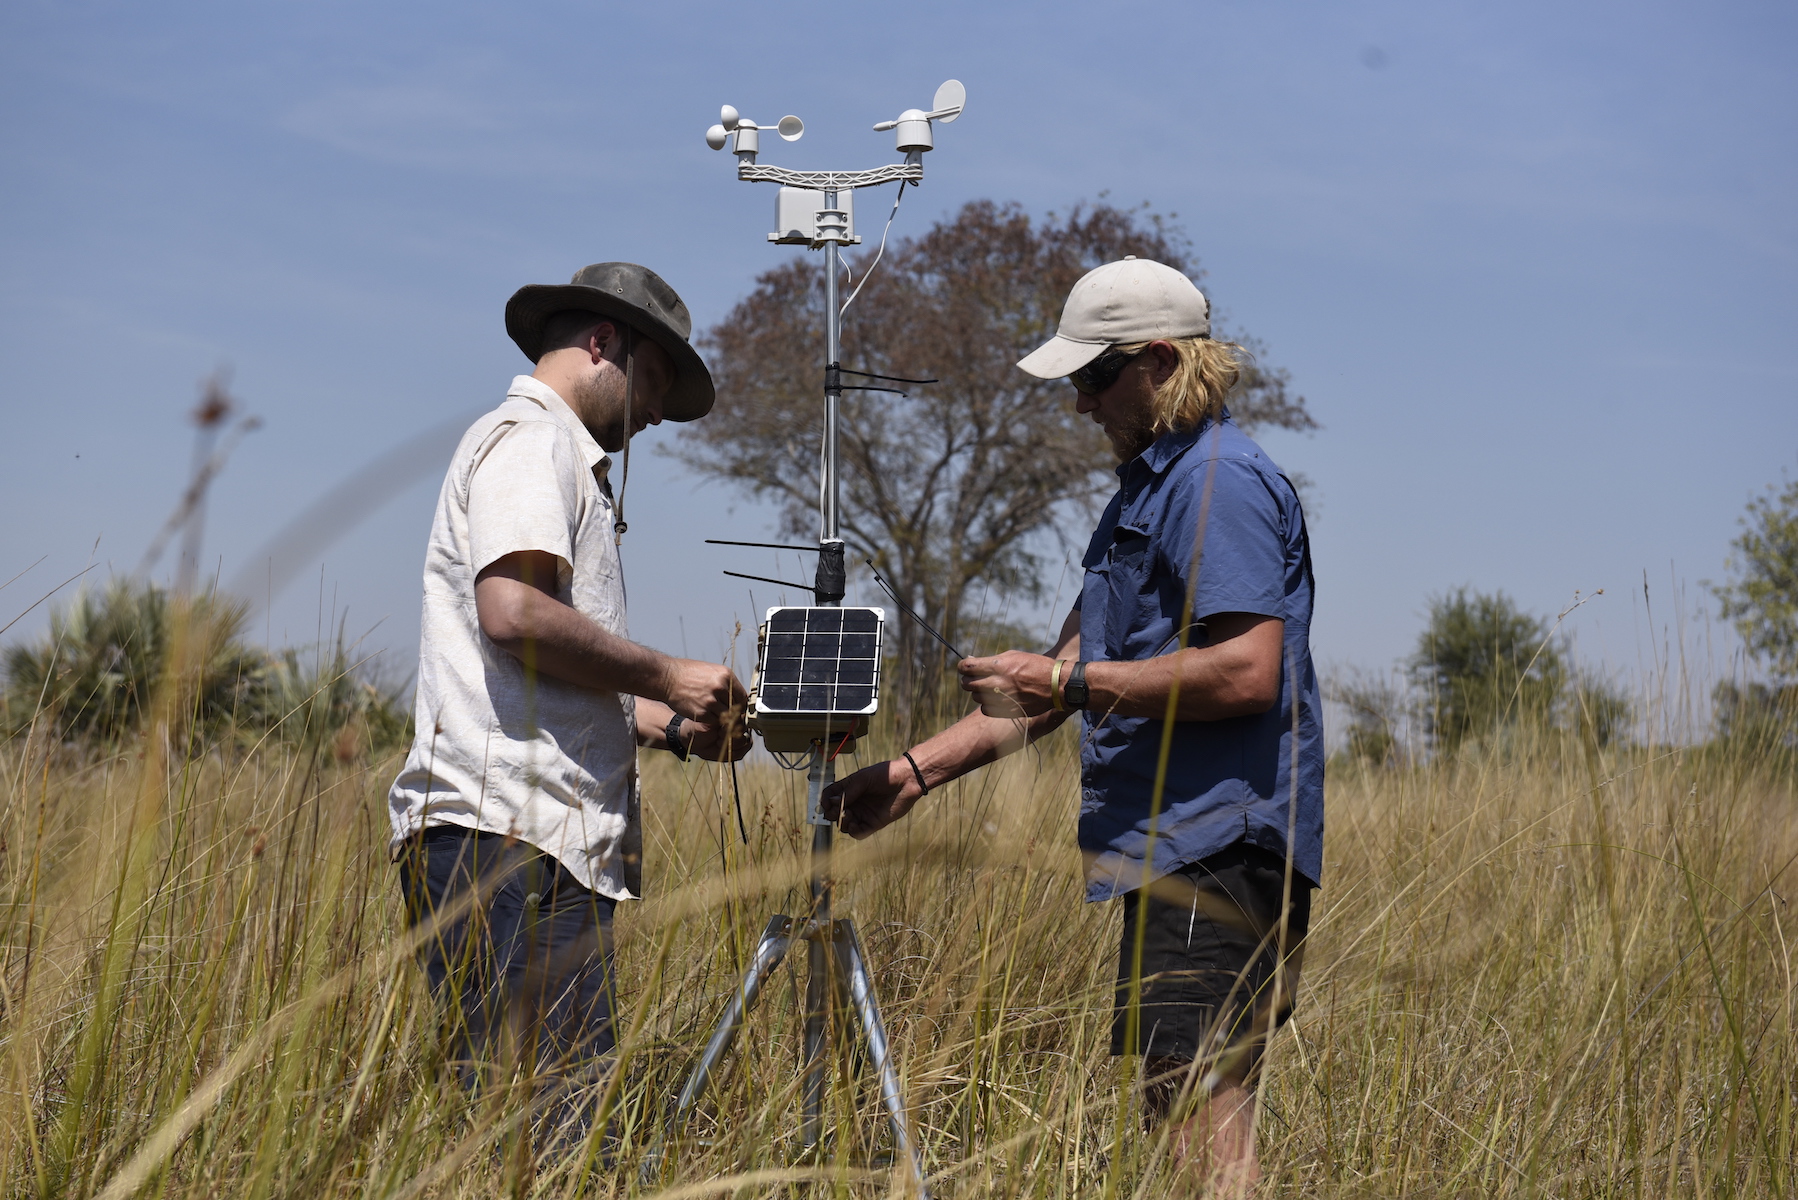
Anchor Securely in Case of Strong Winds
Anchor your station securely in place when leaving it in the field, especially if your location might experience intense winds.
Cover Cables for Protection
Use some sort of cable cover (such as wire loom or metal cable jacketing) to prevent the cables from being chewed on by rodents or other wildlife.
Water Deployments
Here are some things to think about when deploying Water sensors.
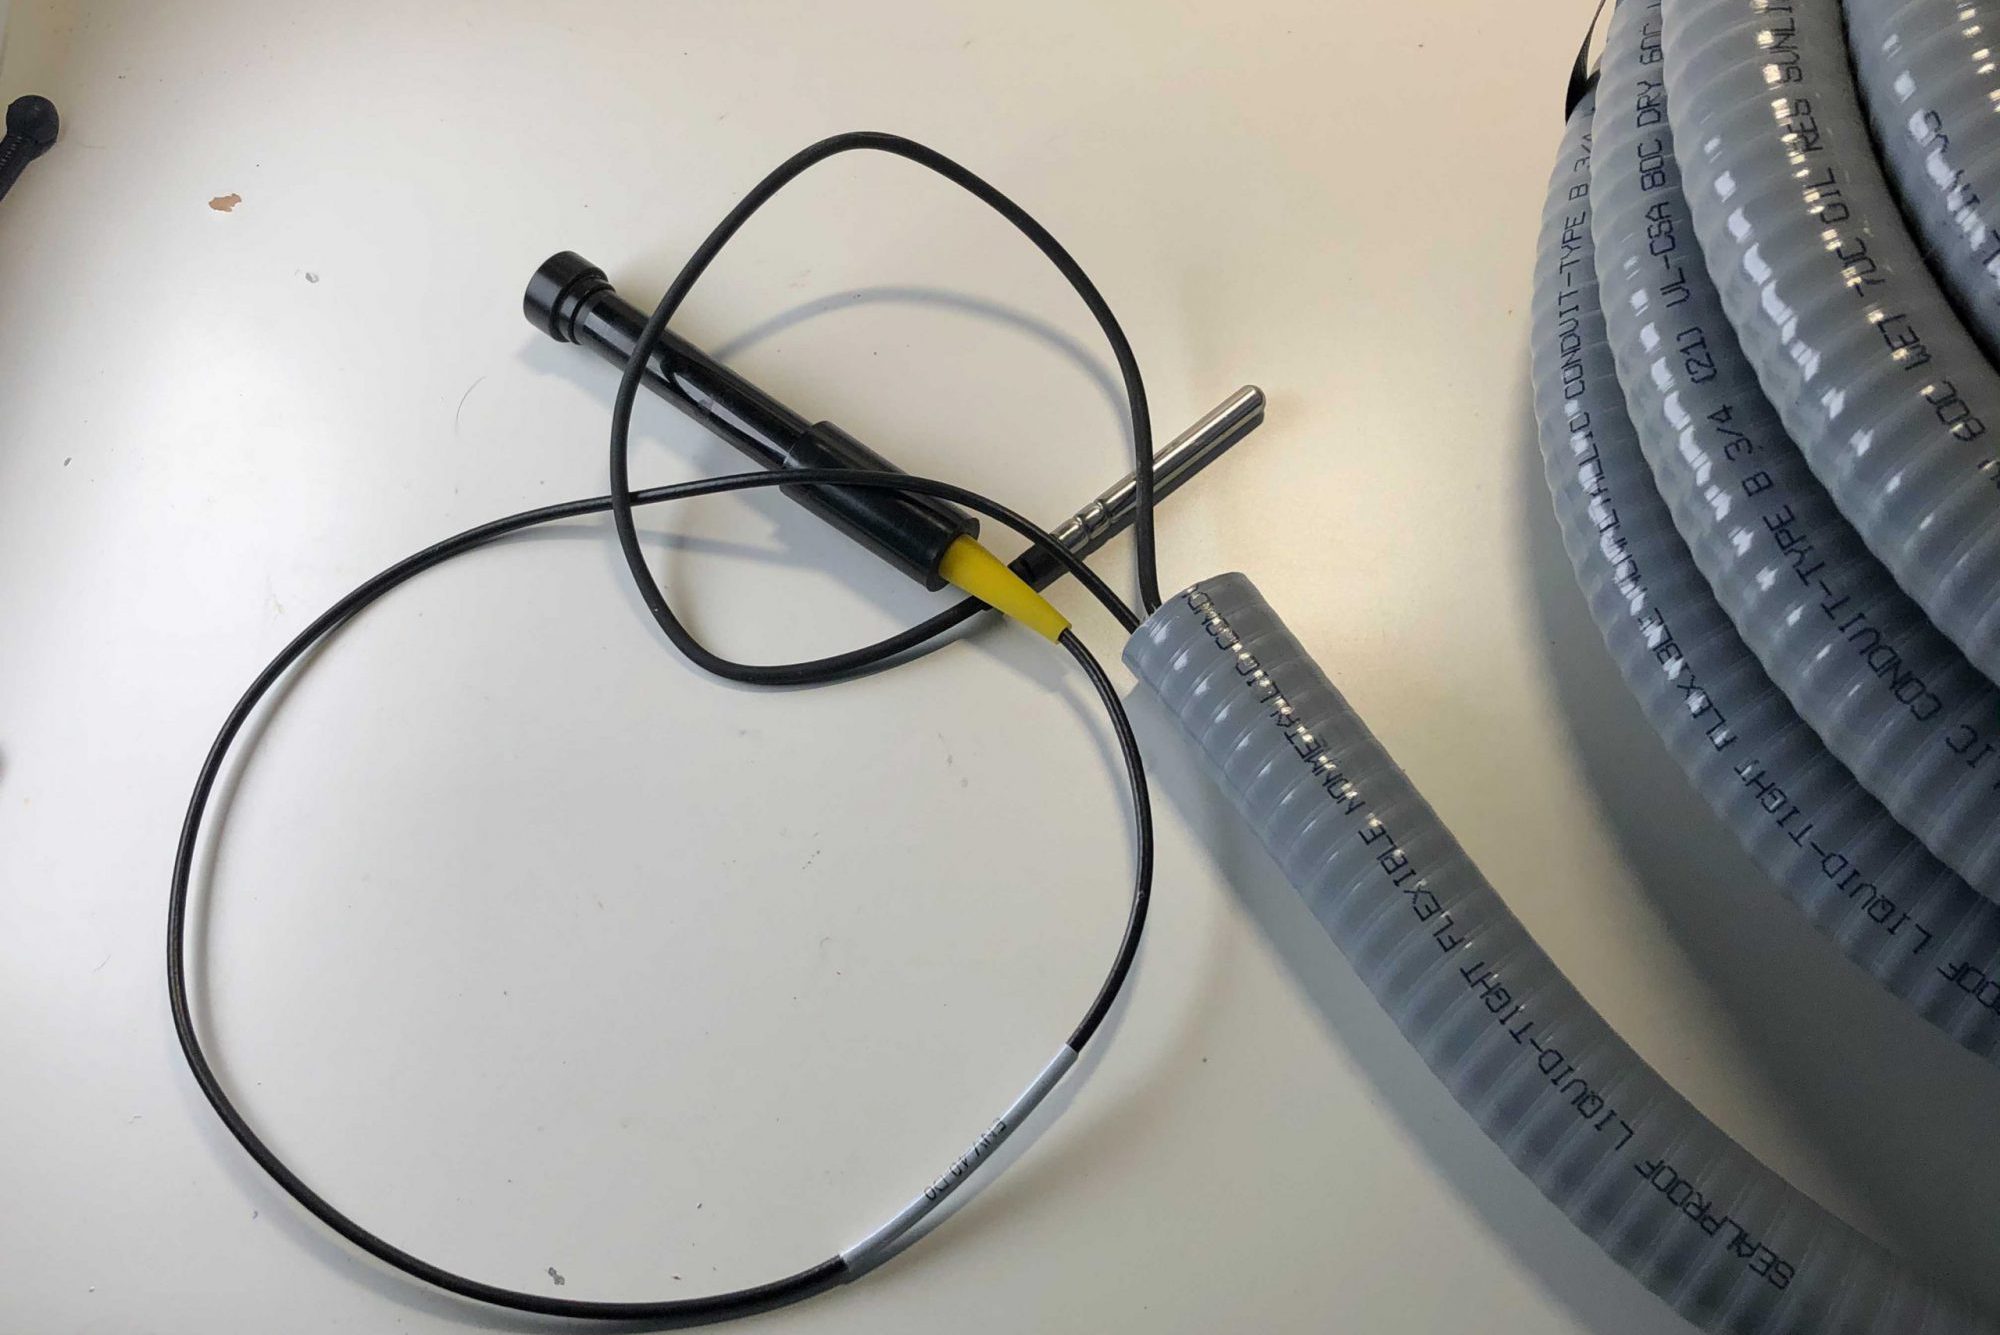
Remove Protective Caps from Probes
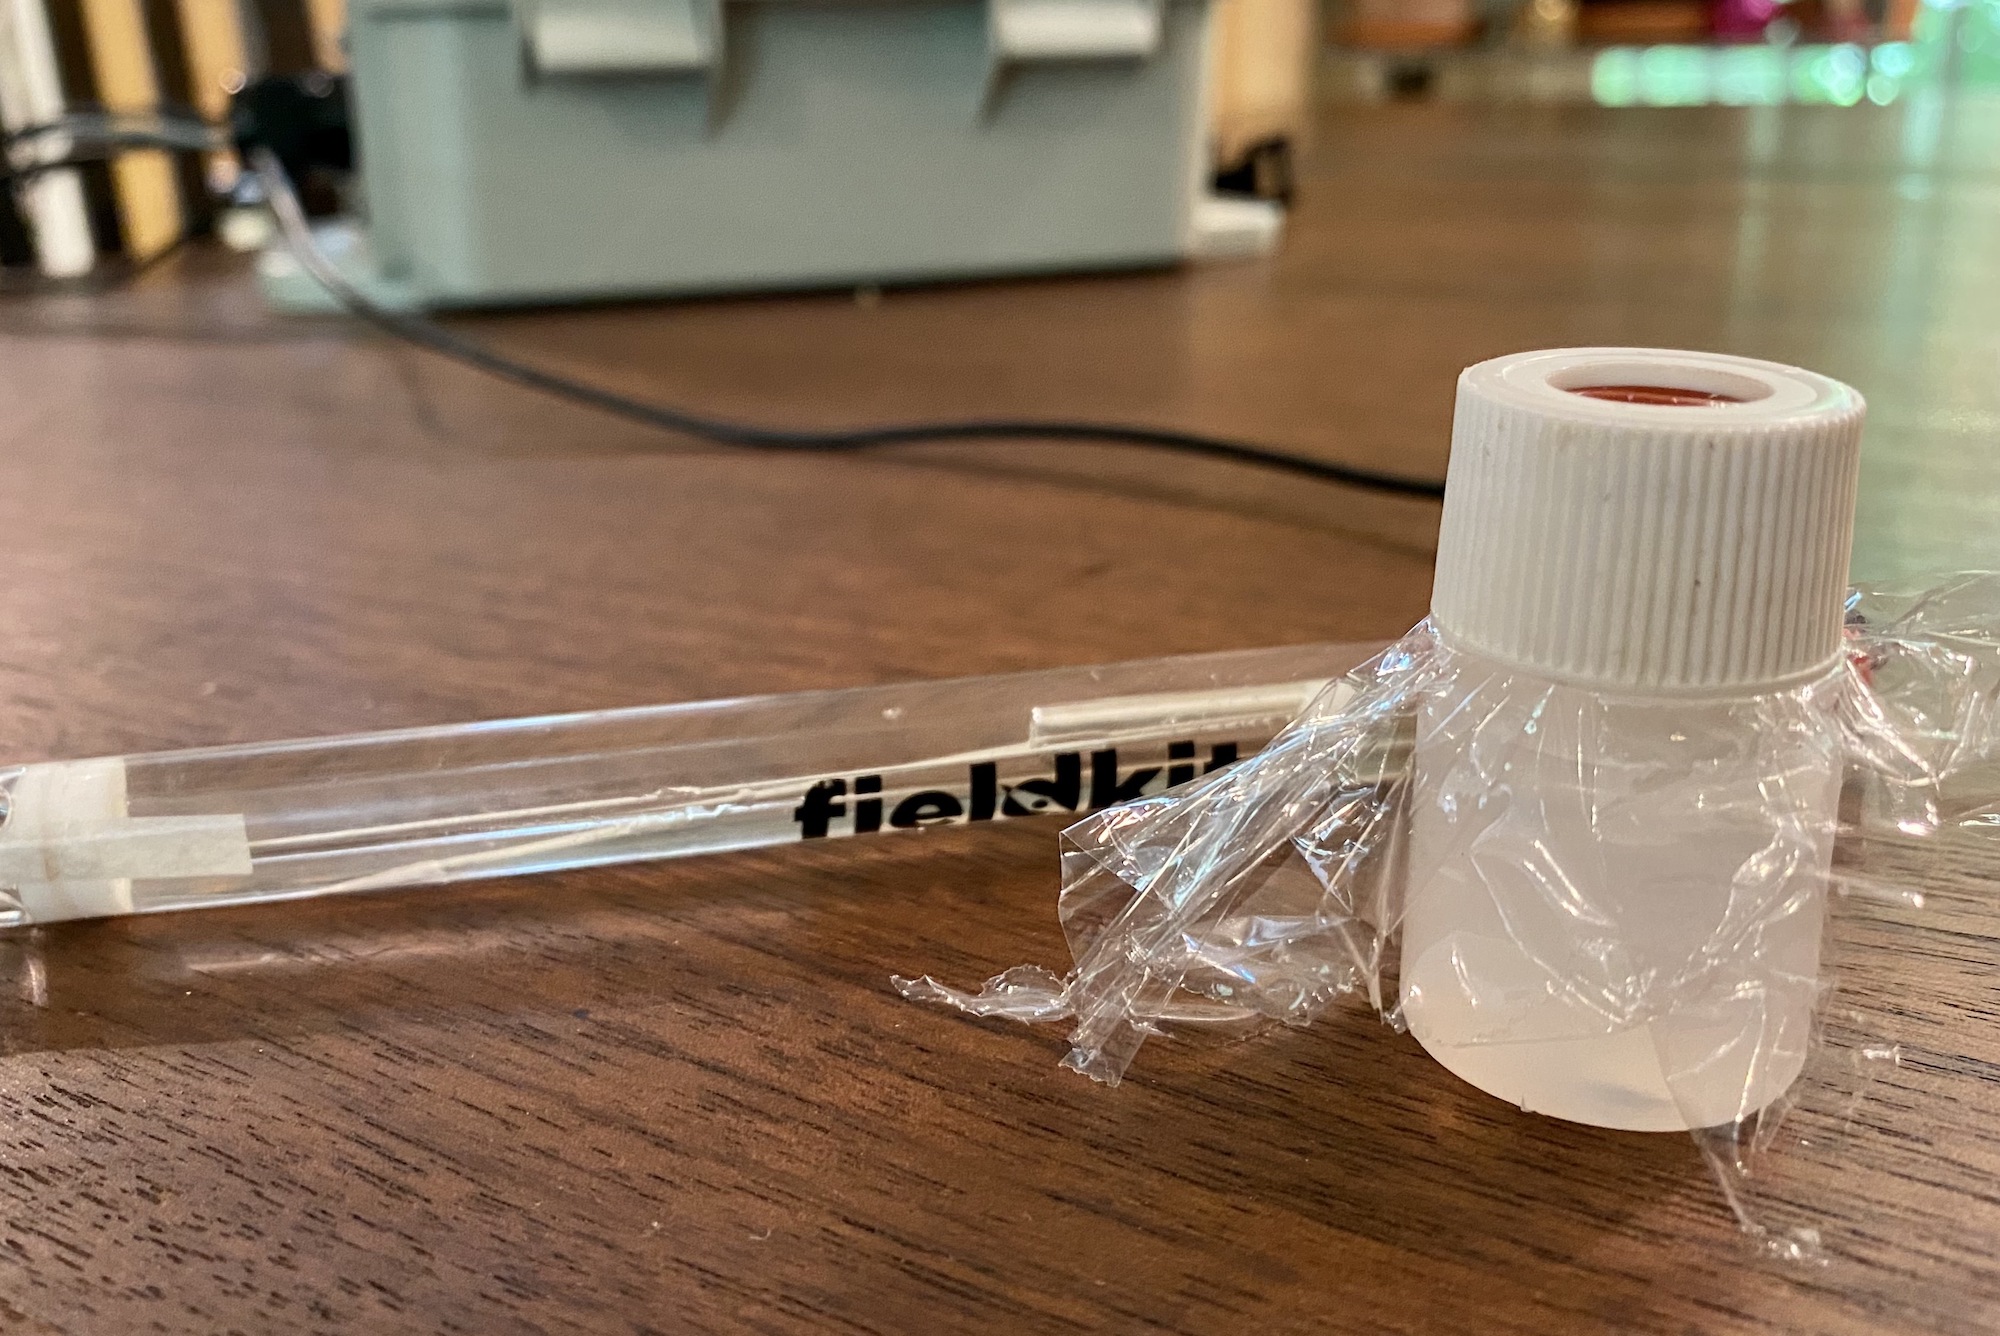
The Dissolved Oxygen and Electrical Conductivity probes have black protective end caps that must be removed before deployment. Retain these caps and replace them on the ends when not using the probes to protect your equipment, after rinsing your probes in clean water. The Dissolved Oxygen probe cap should be pulled off, not unscrewed, as unscrewing can disturb the probe’s membrane. The pH probe has an end cap containing a buffer solution and an o-ring to prevent leakage of the solution. When removing this cap, take care not to lose the o-ring nor spill the solution, as these should be replaced on the end of the pH probe when not in use. While in the field, you can keep the solution from spilling by placing cling wrap or a square piece cut from a plastic bag over the top of the jar and then screwing the lid into place.
The buffer solution used with the pH probe is important for maintaining the life of the probe. If you spill the solution, fill the cap with clean water temporarily and replace the solution as soon as possible. The solution used in the FieldKit pH probes is a 4M Potassium Chloride Solution (KCl). To replace it, you can purchase pH Storage Solution from a laboratory supplier or use the instructions here. The solution will not cause harm to the skin but should not be ingested. Never store your pH probe in deionized or distilled water, as this can deionize the probe, rendering it unusable.
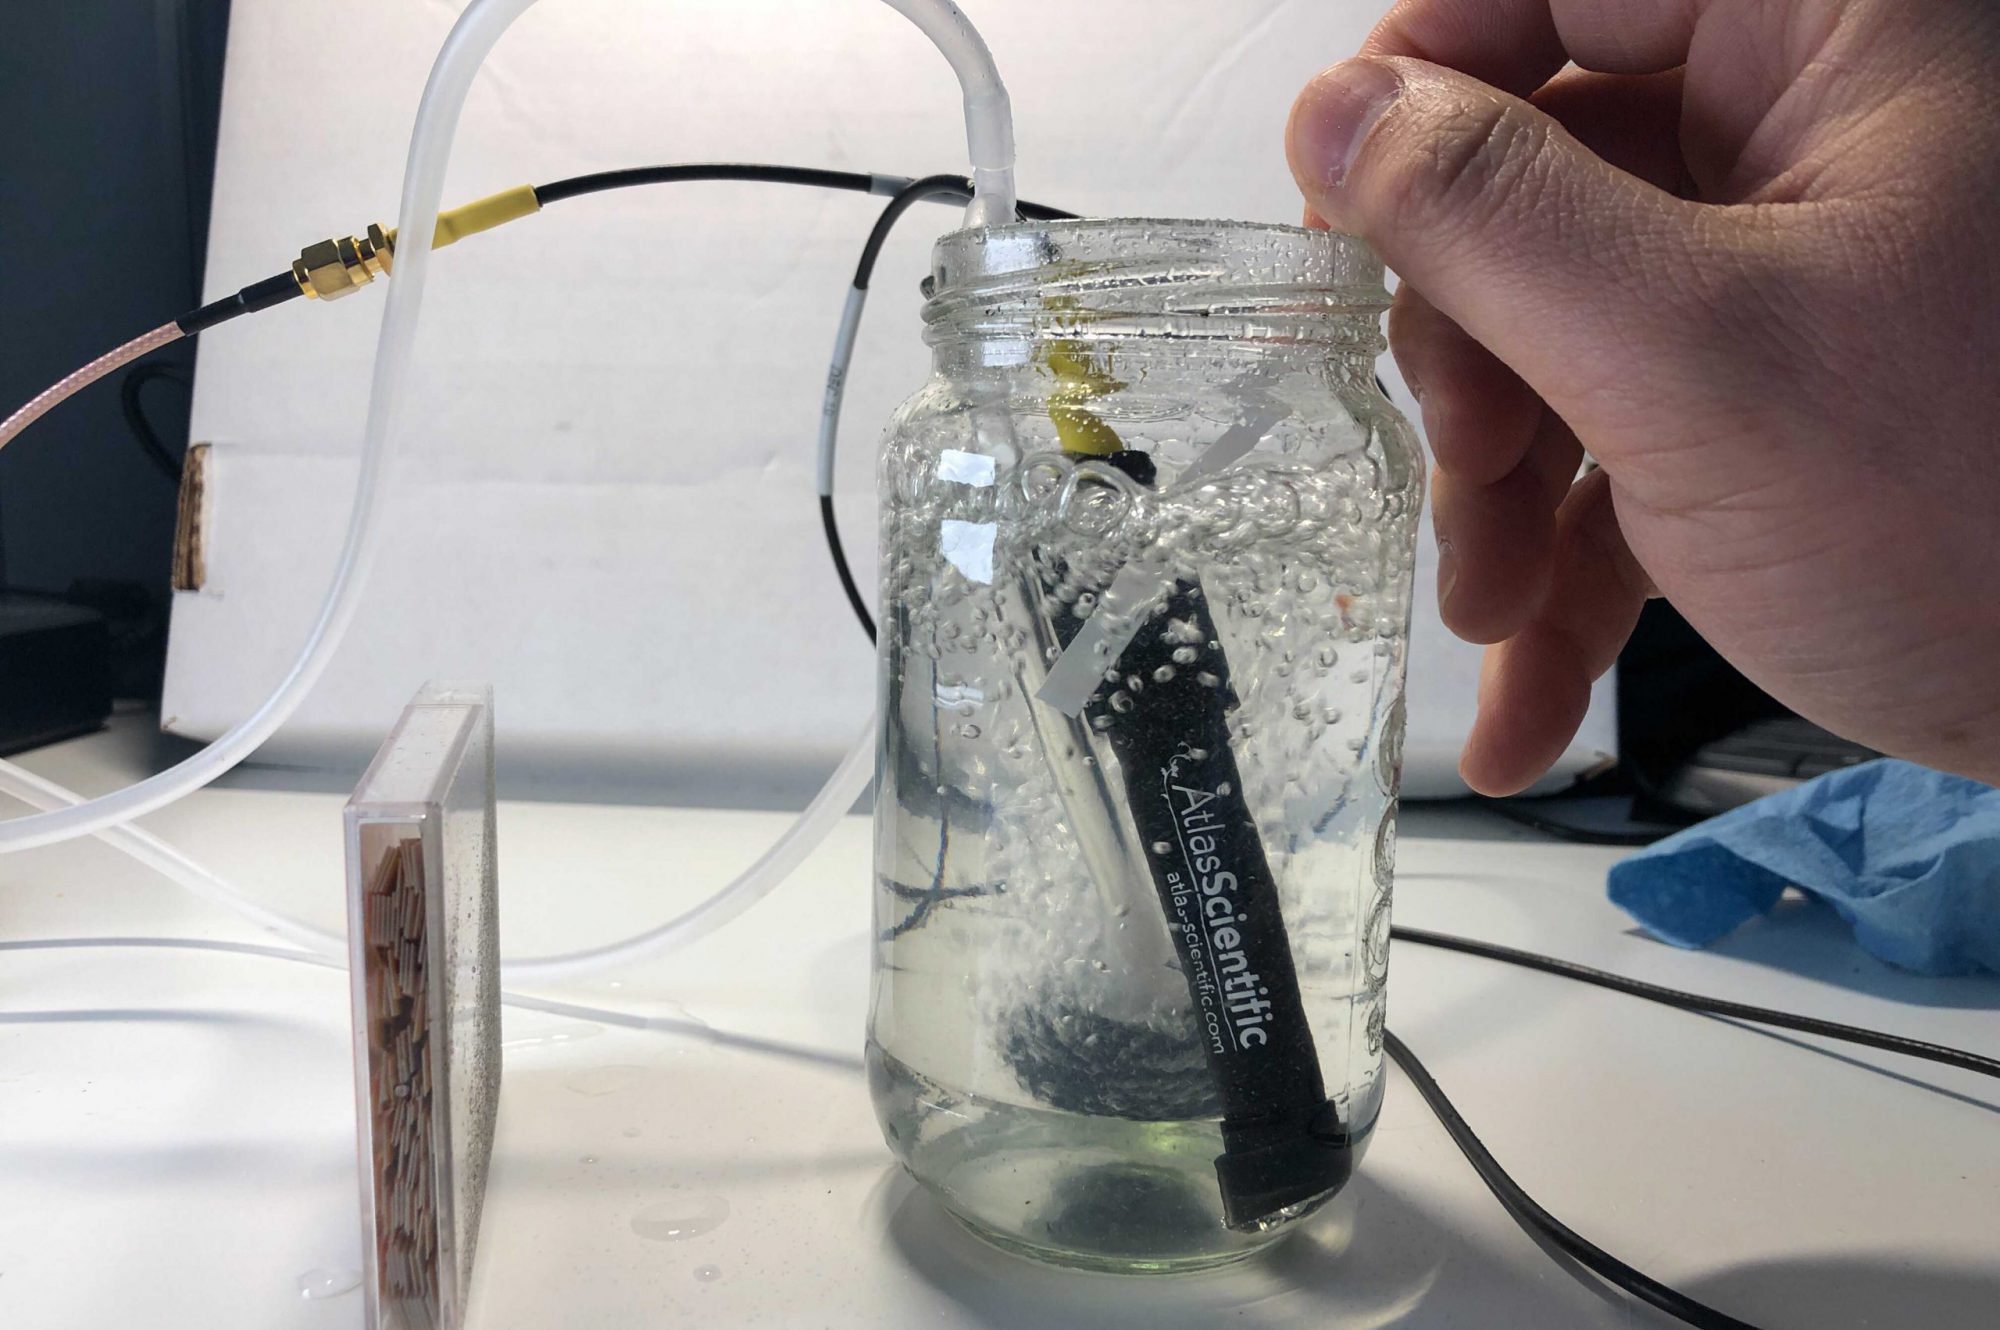
Submerge the Bottom of the Probes
Ensure that the bottom of each probe is submerged in the water by at least 5 cm (~2 inches). The entire probe and its cable are waterproof and can be fully submerged safely.
Protect Against Freezing
Make certain that pH, Electrical Conductivity and Dissolved Oxygen probes are not allowed to freeze in place, as this will damage them. The temperature probe will be fine in freezing conditions.
Take Initial Measurement
For measurement of stage height in bodies of water with the distance sensor, make certain to first get a measurement of the height of the sensor above the bed directly below it using a plumb bob in order to know what distance to subtract from to get your stage height.

Consider Placing Probes in Stilling Well
If deploying in moving water, consider putting your probes in what is known as a stilling well: a section of pipe held above the bed to allow for water to slow down and allow sufficient contact time with probes to make an accurate measurement.
Use Protective Cable Cover
Use some sort of cable cover (such as wire loom or metal cable jacketing) to prevent the cables from being chewed on by rodents or other wildlife.
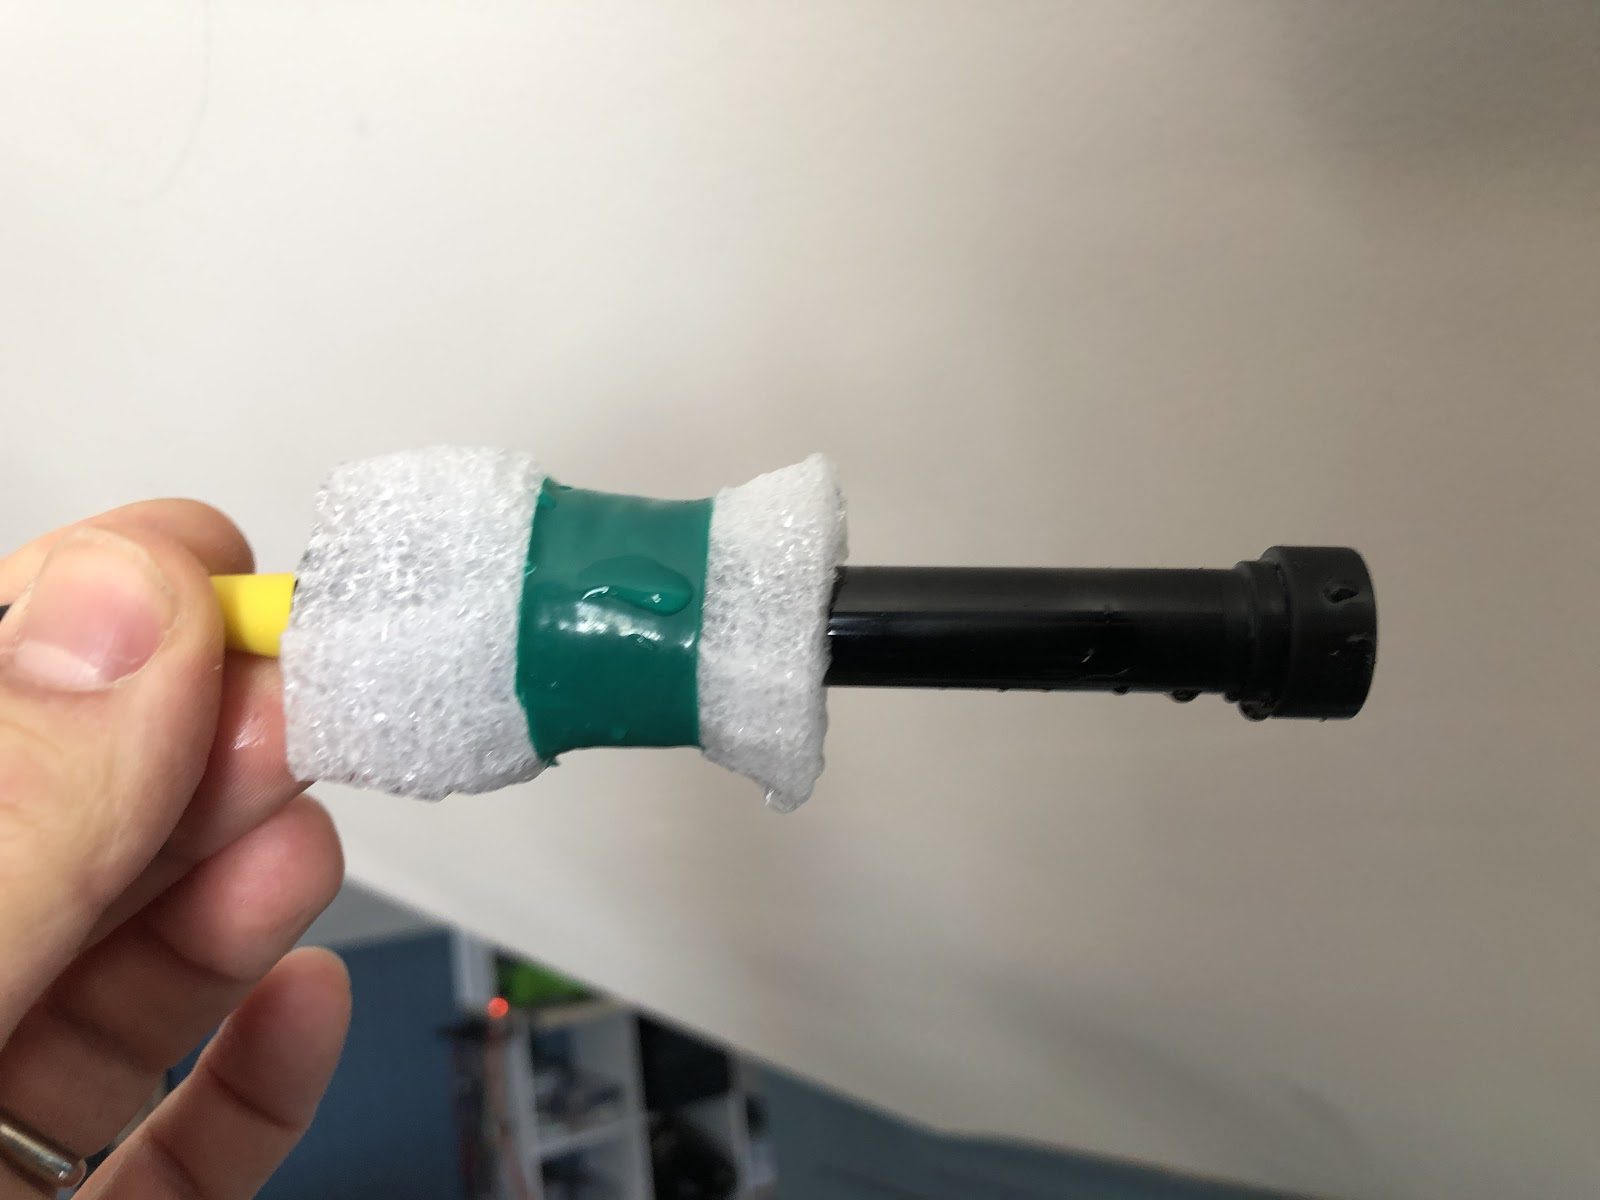
Attach Probe Using Float if Necessary
If deploying in water with a changing level, probes may be attached so that they’re entirely submerged, but Dissolved Oxygen is measured with respect to overpressure, which is the sum of atmospheric pressure and the pressure of the water column. In order to keep this as simple as possible, we recommend putting this probe on a float inside of a stilling well so that it’s always submerged by the same amount. A simple float can be made from open cell poly packing foam and electrical tape. Just make sure that the bottom of the probe is submerged by 5 cm!
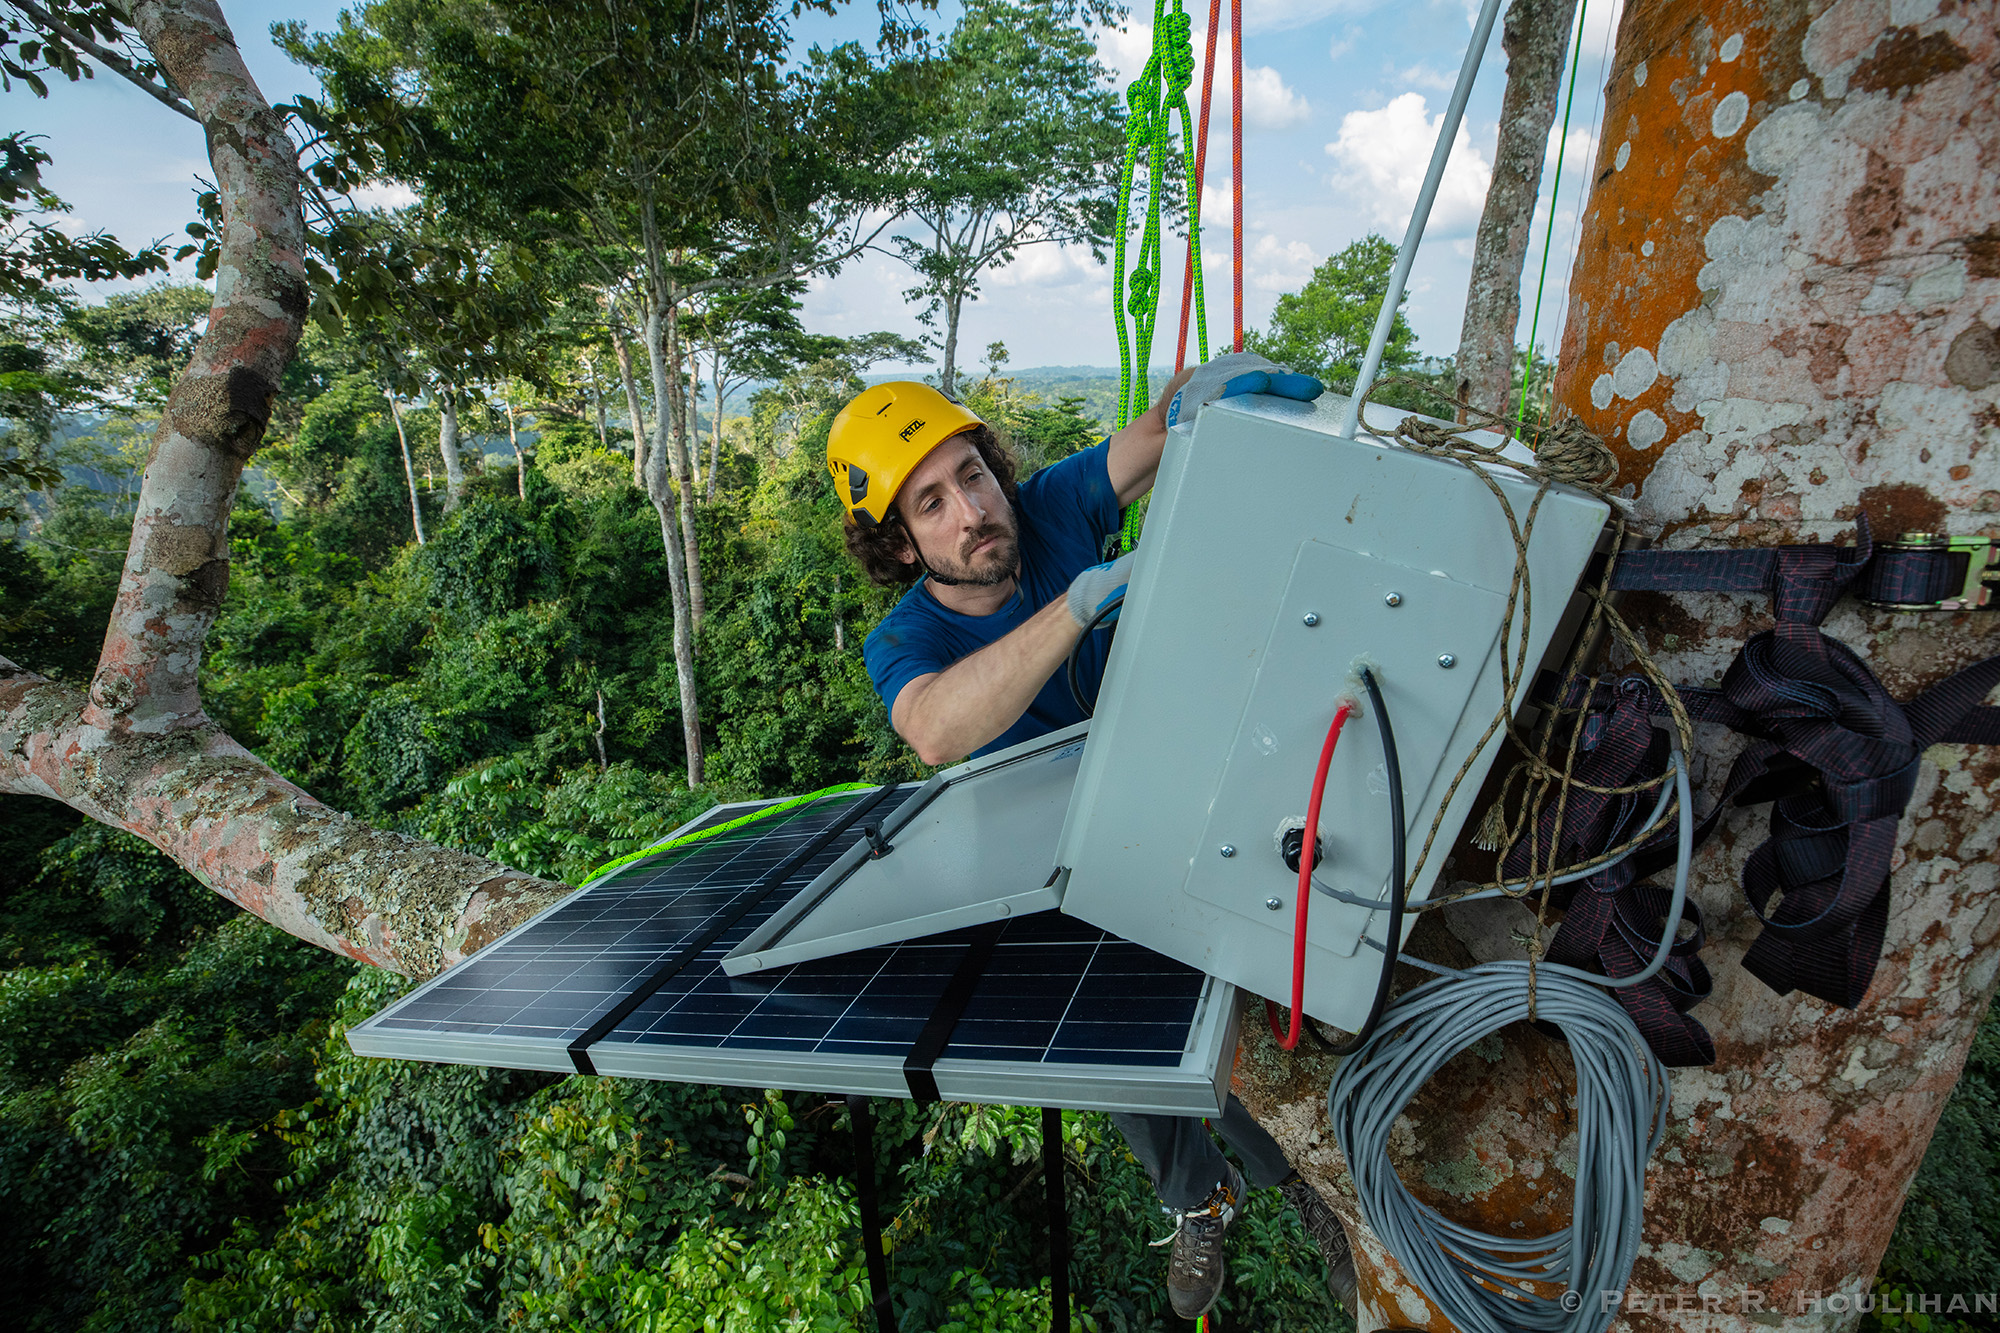
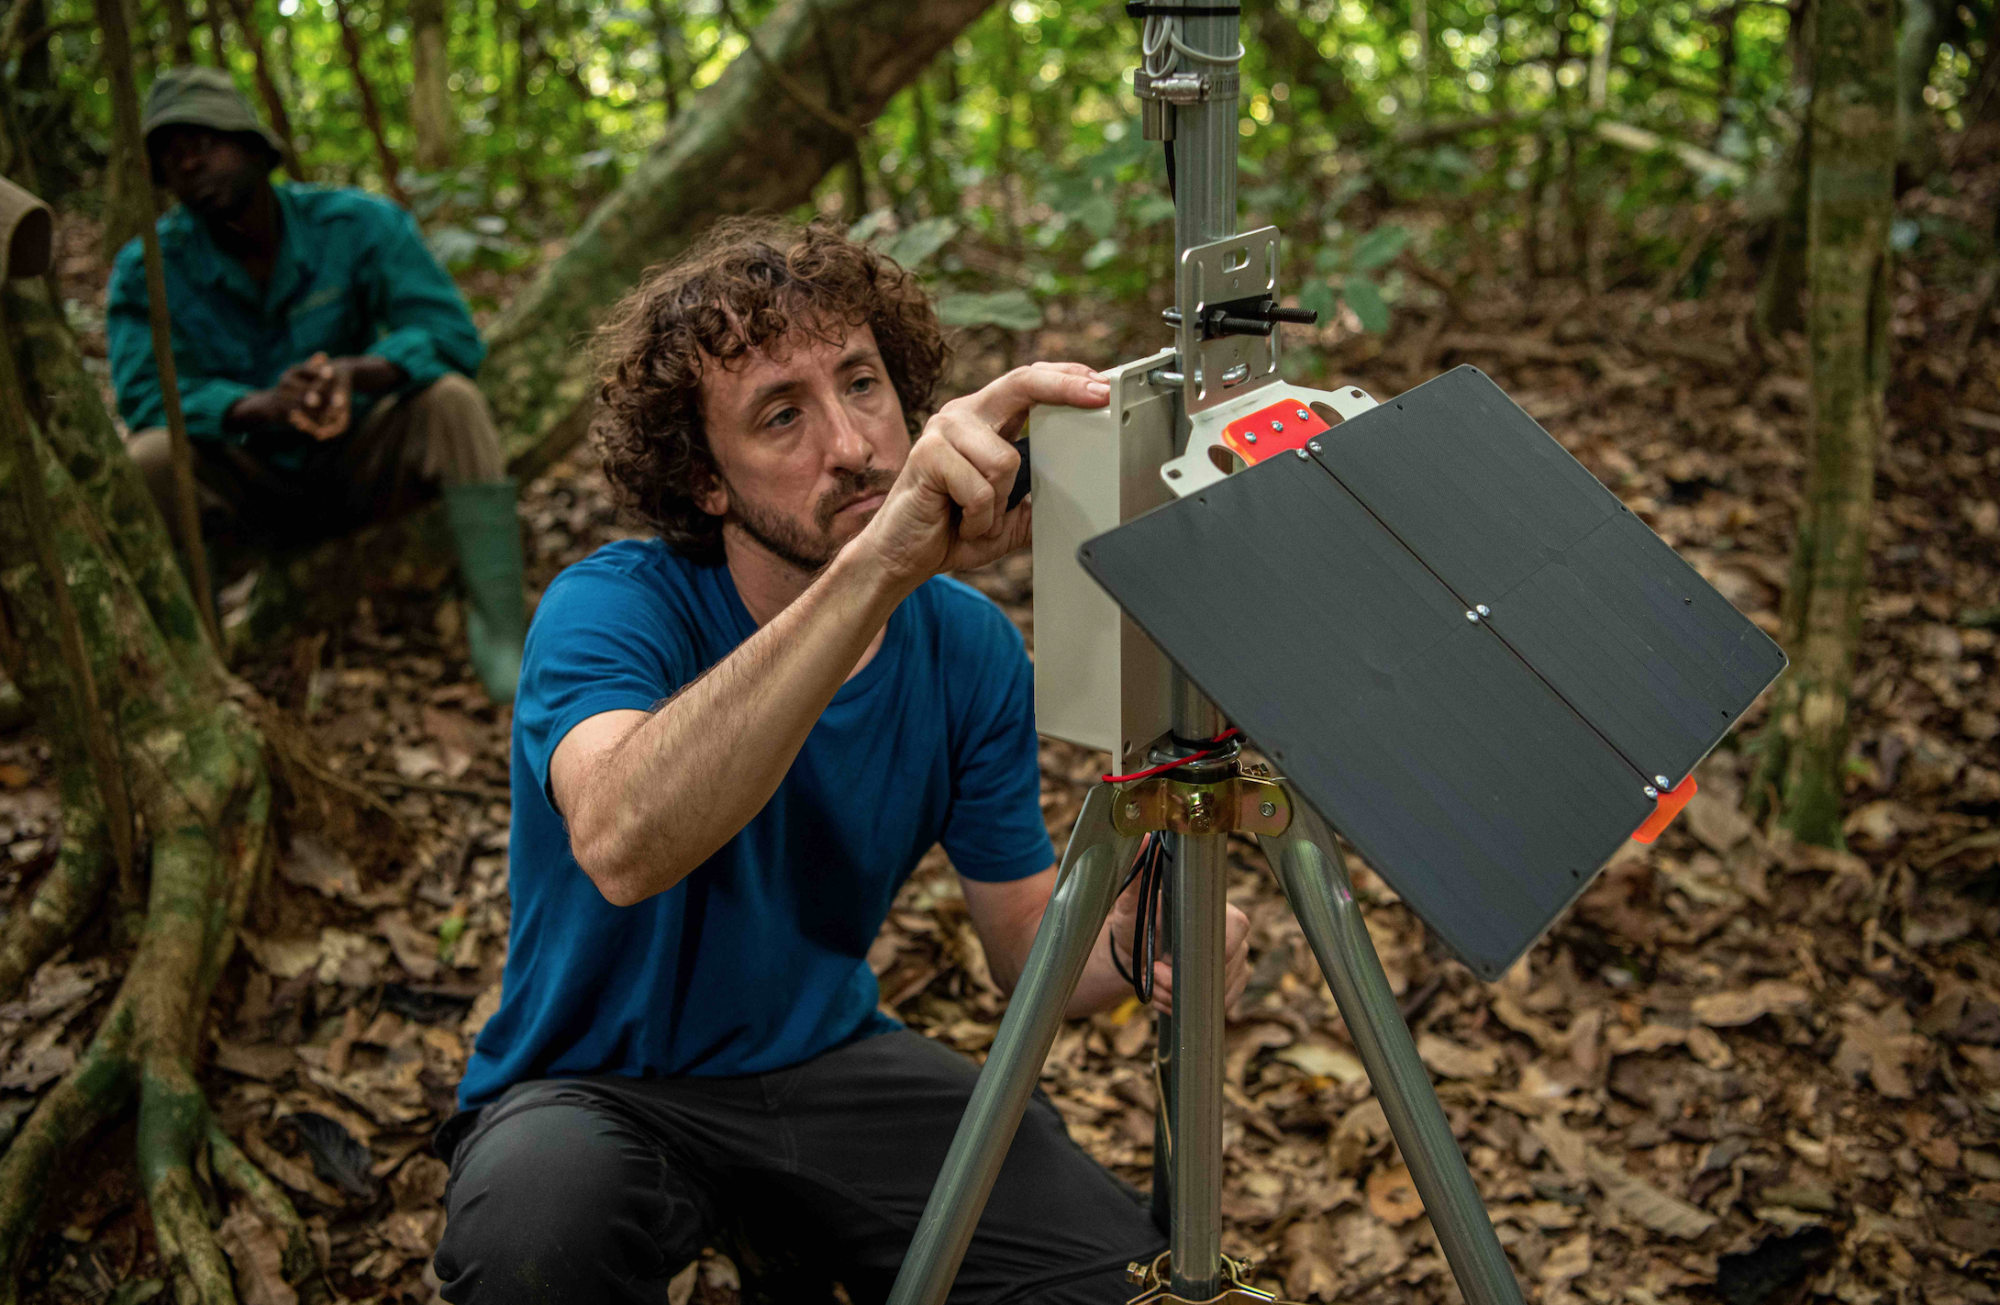
Solar Deployments
Here are some things to think about when deploying solar panels.
Before inserting the battery, solar and button cables, double check that you are connecting them to the correct sockets (labeled “BATTERY”, “SOLAR” and “BTN”). Inserting cables into the wrong sockets can permanently damage your FieldKit.
Optimize Sun Exposure for Solar Panels
Make certain that your solar panels are facing the direction where they will be getting the most sun (i.e. not being shaded by trees or buildings). A general guideline is to mount them at an angle corresponding to your latitude and toward the sun.
For example, if I were at 42° N and I had trees screening to my east, I would aim my panel to the southwest at an angle of 42° from a line parallel to the ground. If I were at 31° S, with trees screening to my northwest, I would aim my panel northeast at 31° degrees.
Use Protective Cable Cover
Use some sort of cable cover (such as wire loom or metal cable jacketing) to prevent the cables from being chewed on by rodents or other wildlife.
Unsure About Anything?
For more ideas and help, ask in the FieldKit Community Forum.